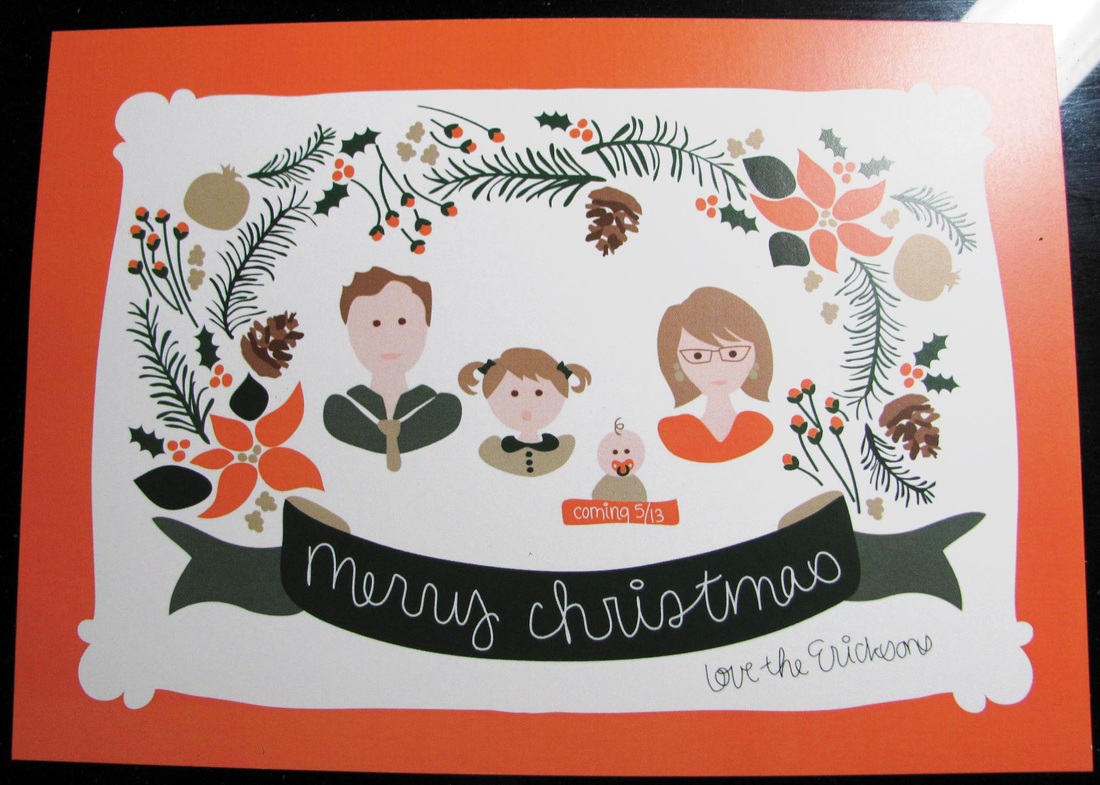
I decided that I didn't want to stress about finding a photographer and coordinating outfits for a family Christmas picture this year. Ellie won't look at the camera anymore anyways, so when I saw these holiday cards by Rifle Paper Co. I had to copy. I usually design my own Christmas cards and print them off at Costco (so cheap and high quality), but I didn't think that the photographic finish would fit this type of artwork. I turned to two other sites to print my cards, Persnickety Prints and Viovio. I was surprised at how different each came out. Here's the breakdown. (I apologize for my horrible lighting and photography skills. All of the cards turned out much better in person than they look in my photos.)
Persnickety Prints.
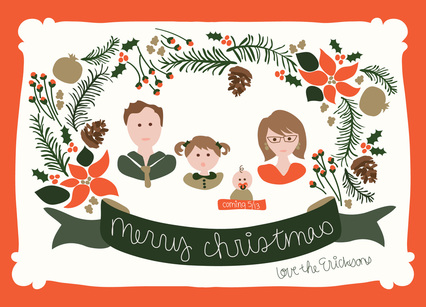
the original file straight from my computer
| 
Colors very true to original
|
Cost: $29.99 for a package of 30 plus envelopes, $0.85 for spares (not including tax)
Shipping: $5 flat rate
Ease of upload: Medium, it was easy to upload but getting the bleed right was very confusing
Finish: Matte
Feel: Regular card stock, somewhat sturdy
Colors: True to the original
Other: They printed their logo on the back, which I did not like, nor did I see an option for taking that off. I also had 8x10 wall art printed through them in the same order. Some of the prints came back fuzzy with crazy colors. I emailed them about it and found out that I was supposed to upload them in RGB, not CYMK. Even though it was (sort of) my mistake, they quickly reprinted free of charge. They get 5 stars for customer service.
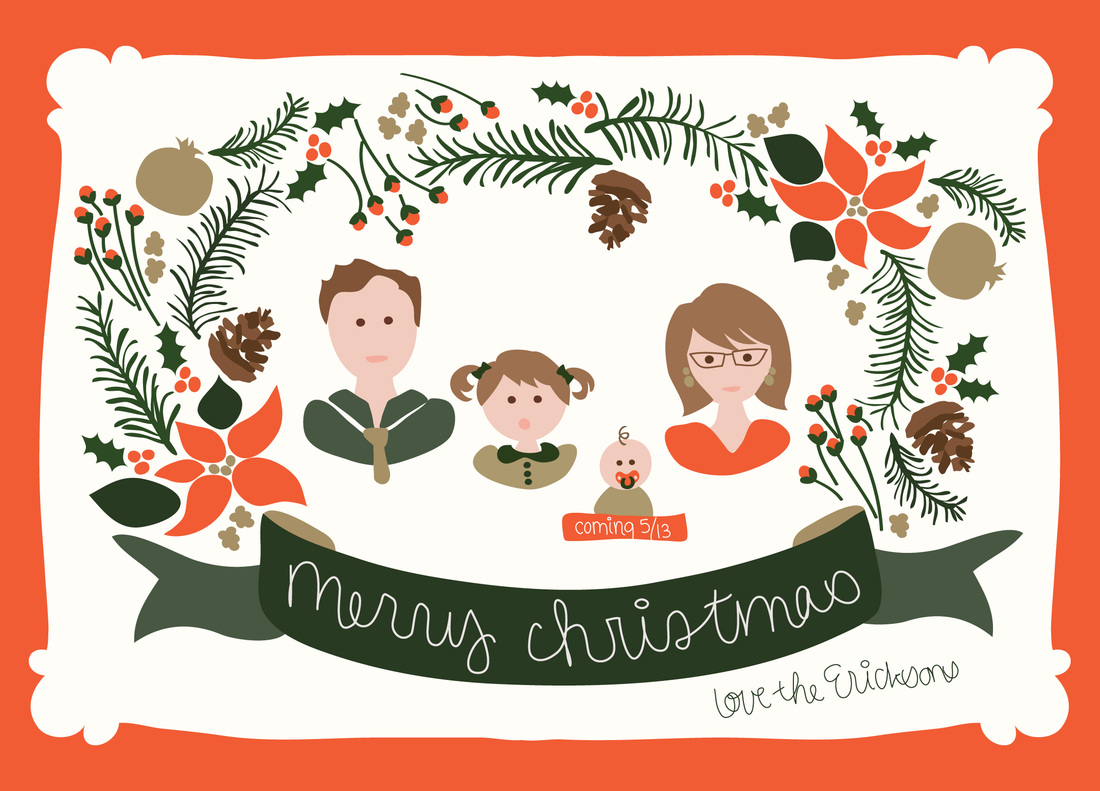
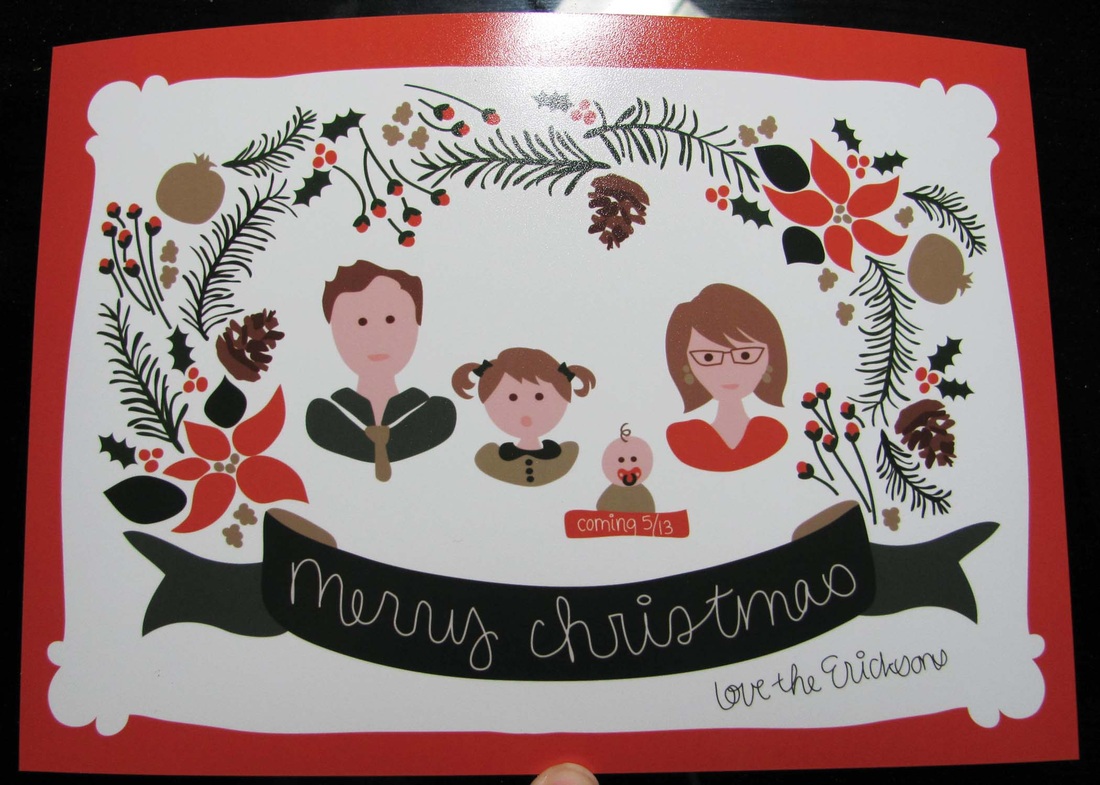
Viovio.

the original file straight from my computer
| 
So ORANGE! It looks like the original in this photo, but it was really orange in real life.
|
Cost: $0.99 each plus an envelope (not including tax)
Shipping: less than $5 for super slow shipping (but I got them within a week)
Ease of upload: Very easy, but I've used the site before
Finish: Matte
Feel: Heavier card stock than the Persnickety Prints cards
Colors: Way too orange! Like almost ugly orange especially when next to the green.
Other: There was no logo printed on the back which I liked.
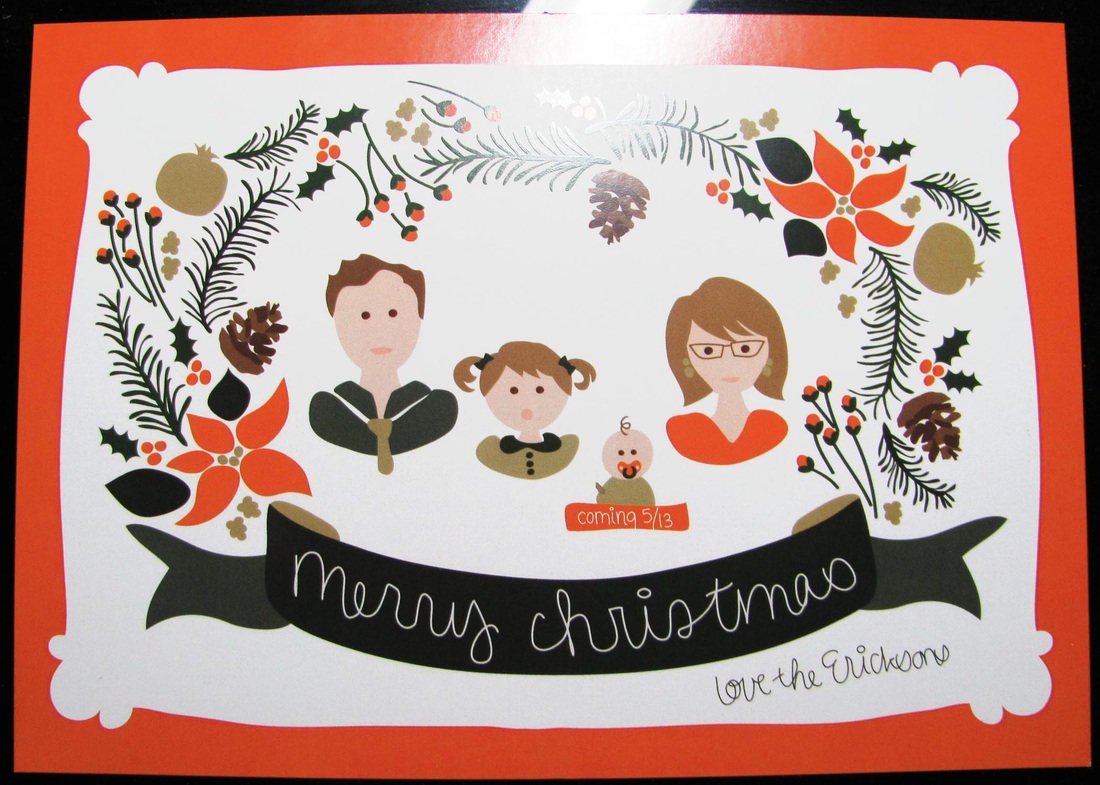
Costco.

the original file straight from my computer
| 
deep brick red and glossy
|
Cost: $0.85 for two copies
Shipping: I picked them up at the store, so free
Ease of upload: Easy, but I've used the site before
Finish: Lustre
Feel: Like a heavy weight printed photograph, very sturdy
Colors: Way off! I was surprised. My photos never turn out with wonky colors, but the orange on this card turned out more like brick red than the original.
Other: I printed here just for a comparison. I didn't like the photographic finish and feel for this type of artwork. For photos, I still think Costco is the place to go.

final words.
To me, printing is the worst part of digital scrapbooking. Bleed, slow uploading, covers....agh. But it is so nice to have it when it is done. For the future I will go with Persnickety Prints for printing cards and other matte prints (like 8x10 wall art) because the colors turned out the best. As for printing books, I will still go with Viovio because they are the cheapest and I have never had any problem with books that they have printed (I've printed 6 books with them now). The colors are never off in their books. Costco will be my go to place for printing photos.
Questions about printing? Just ask in the comment section below!
Questions about printing? Just ask in the comment section below!
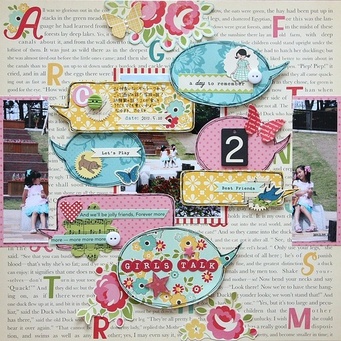
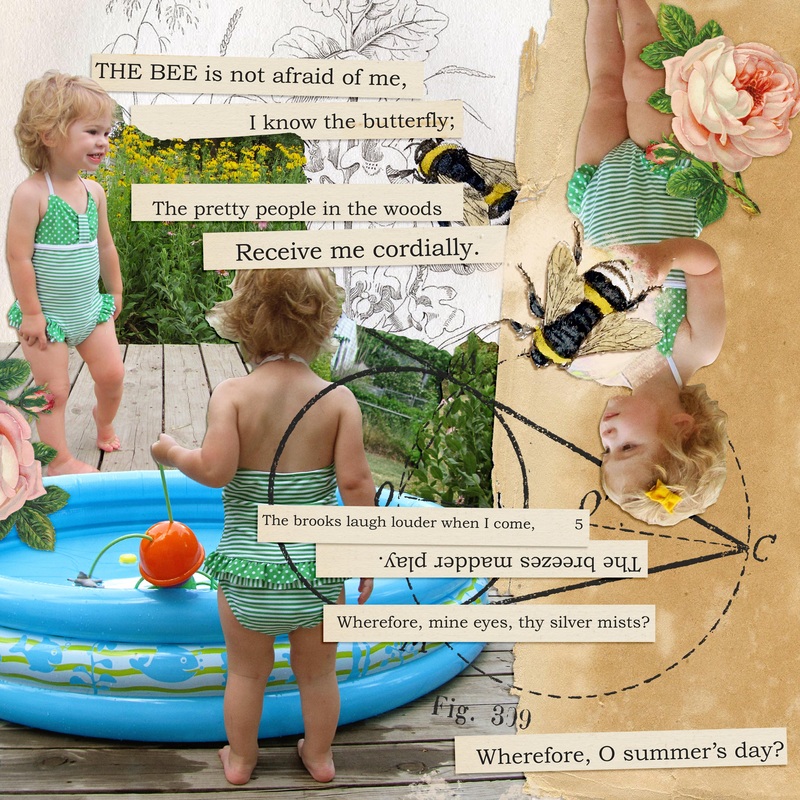
on ship template and quickpage.
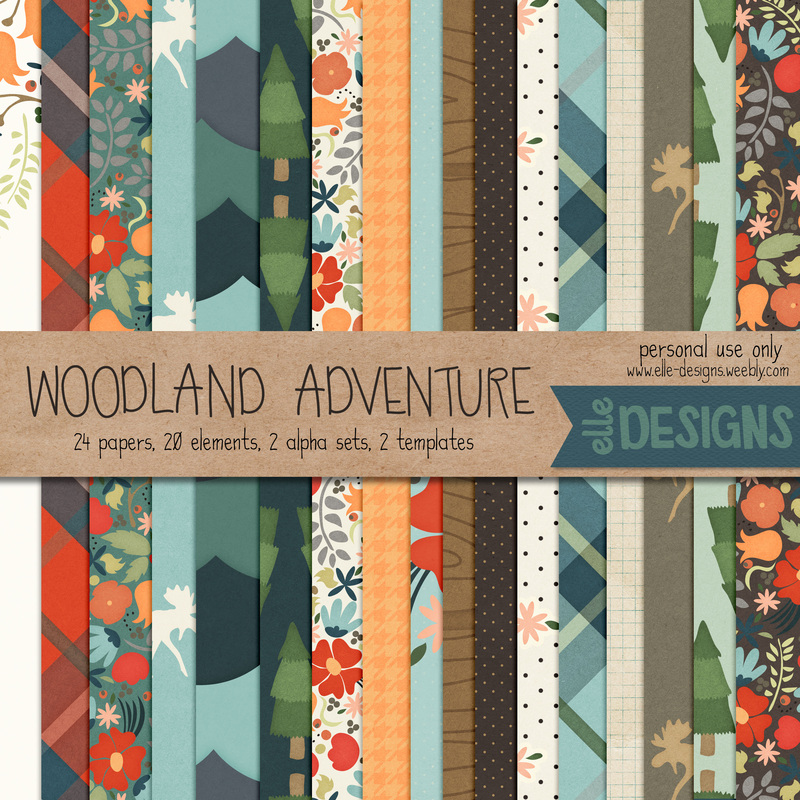
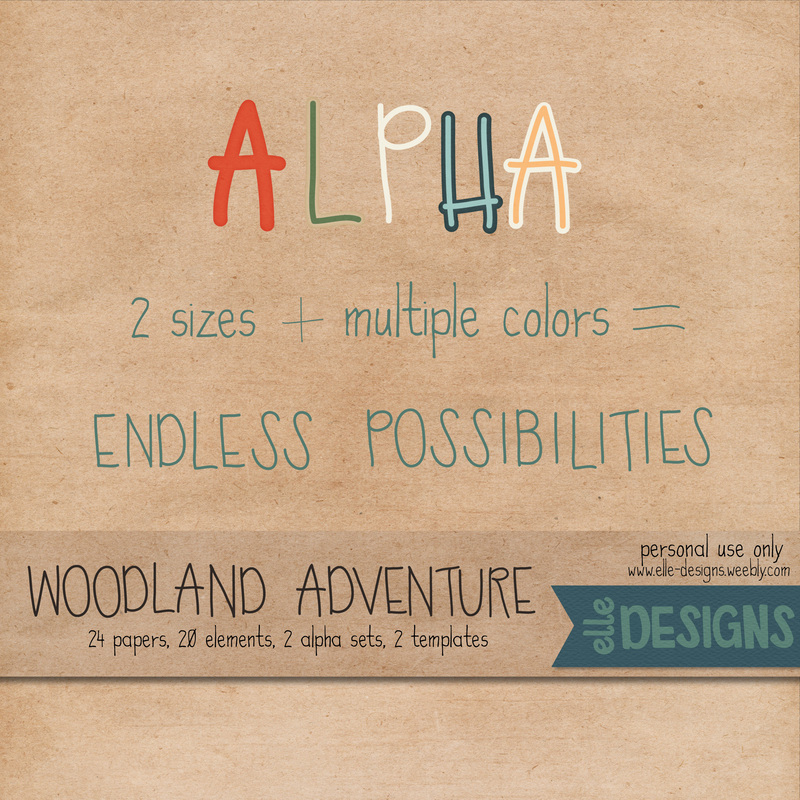
I've had several requests for a template for the On Ship page that I did for my cruise (see this post). Here it is. Also you can download the entire Woodland Adventure kit for free under the My Freebies tab. ***Since it is a two pager, remember to put non-important or scenic photos in the circles where the photos will be cut in two.
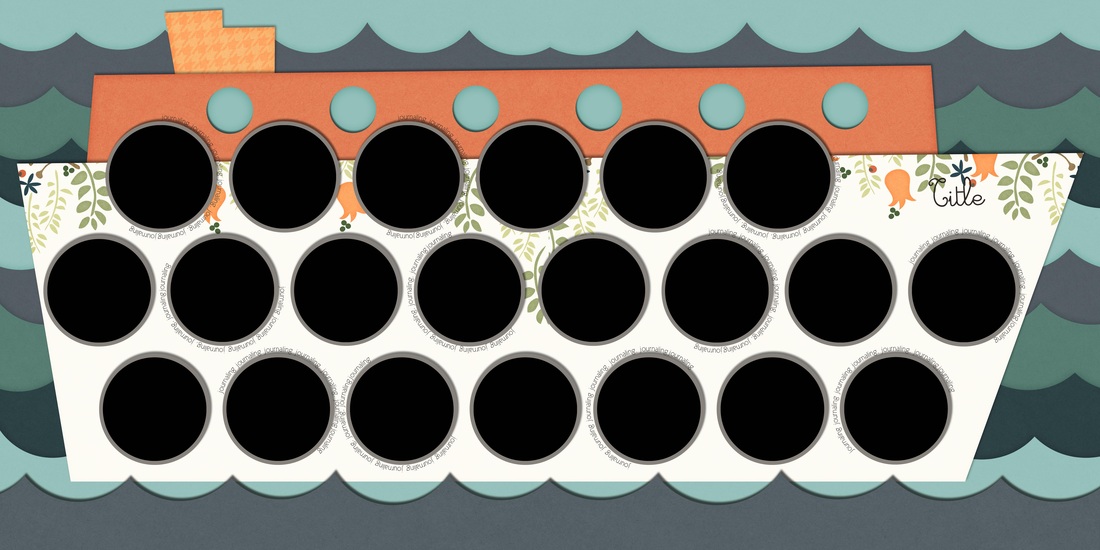
Download HERE