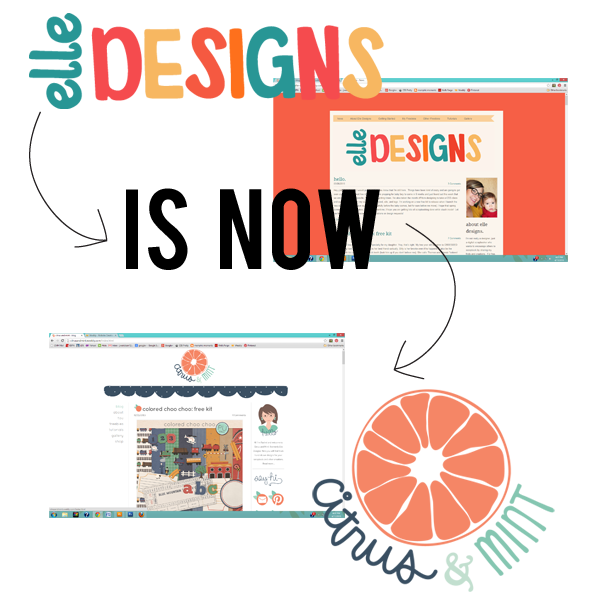
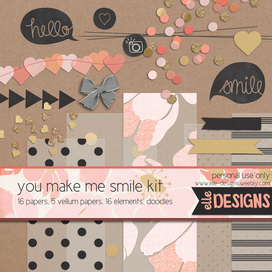
Yep, that's right! As crazy as it sounds, I've decided to plunge off the deep end and start all over. I started Elle Designs last year as a "just for fun" site to put up my design experiments without annoying people on my family blog. Now that I've decided that I really like designing and want to do more with it, the original site just didn't fit my vision. There are a billion design sites already out there with the name Elle Designs. It was becoming impossible to even create an email address for Elle Designs without it becoming [email protected]. Plus people were confused by Elle, thinking that was me, but I'm Rachel and Elle is my daughter. The site itself was too cluttered and unorganized. I wanted to start over and make something that was more "me" using the skills I learned in the CSS Pretty course I took (which I highly recommend--more on that later). Thus Citrus and Mint was born. I love how everything turned out and I hope you do too! Head on over, check it out, and let me know what you think! Oh and you may want to download the new FREE kit. :) All of the tutorials and freebies on this site were transferred over there, so there shouldn't be any need to visit this site anymore. Please update your RSS feed/re-subscribe to get updates from the new site and you can even visit the new Citrus and Mint facebook page for news and more freebies!
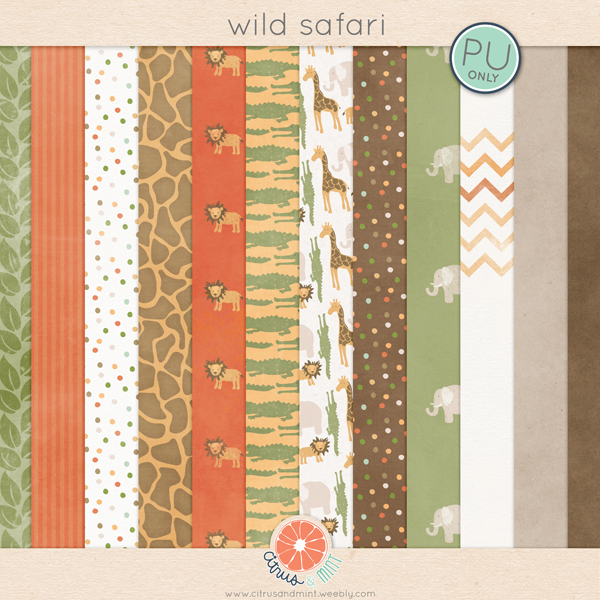
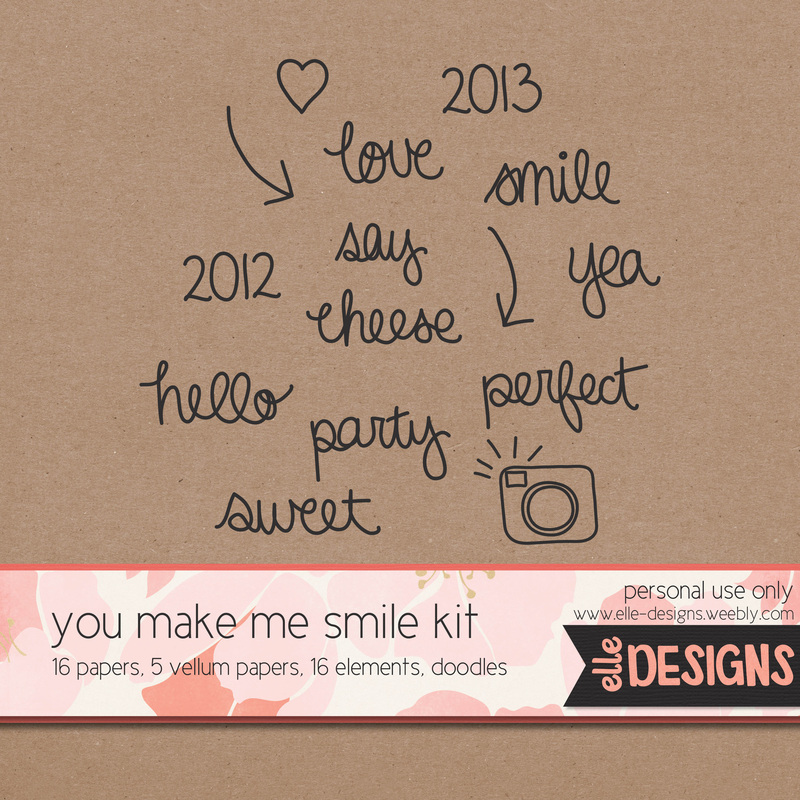
free wild safari paper pack
|
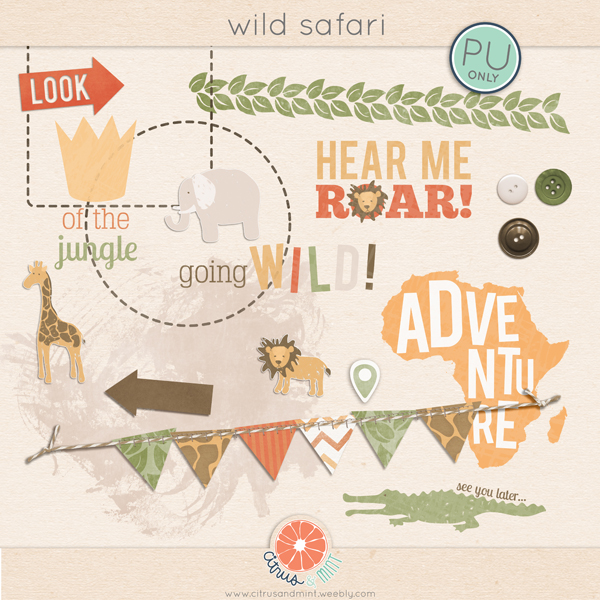
free wild safari element pack
|
facebook fan freebie
|
Hey y'all! Just thought I would pop in and let you know that I'm still here. Things have been kind of crazy and are going to get even crazier over the next few months. We are prepping for baby boy to come in 6 weeks and just found out this week that we are moving to Jacksonville, FL in July! Exciting times. I've also taken the month off from designing to take a CSS class and completely redesign my scrapbooking brand, site, and logo. I'm working on a new free kit to release when I launch the new site, so keep your eye out for that (hopefully before the baby comes, but for sure before we move). I hope that spring comes soon for all our sakes, but in the meantime, I hope you are getting lots of scrapbooking done while stuck inside! Let me know if you have any scrapbooking questions or design requests!
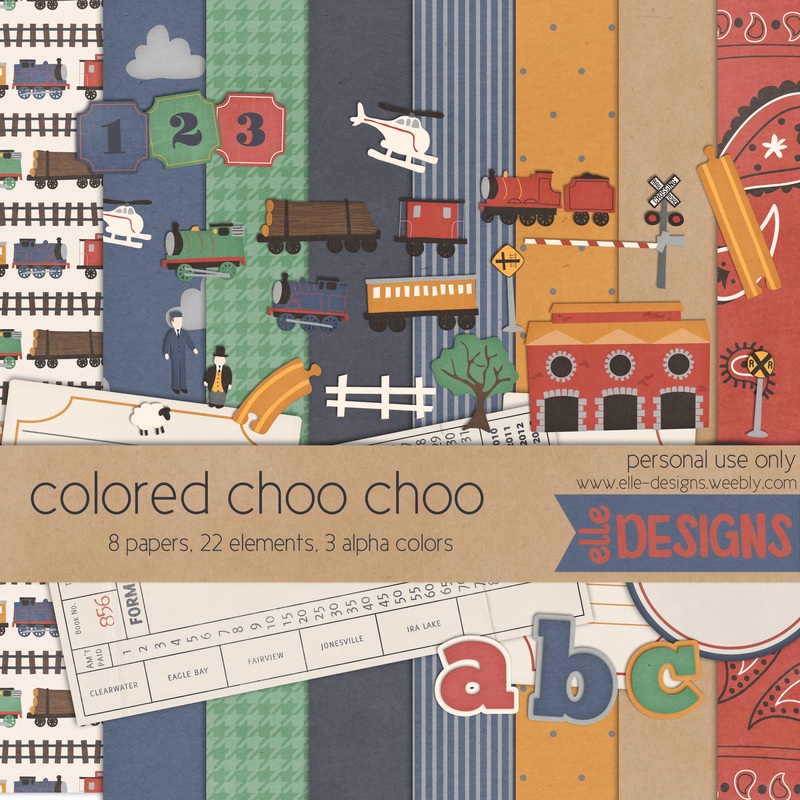
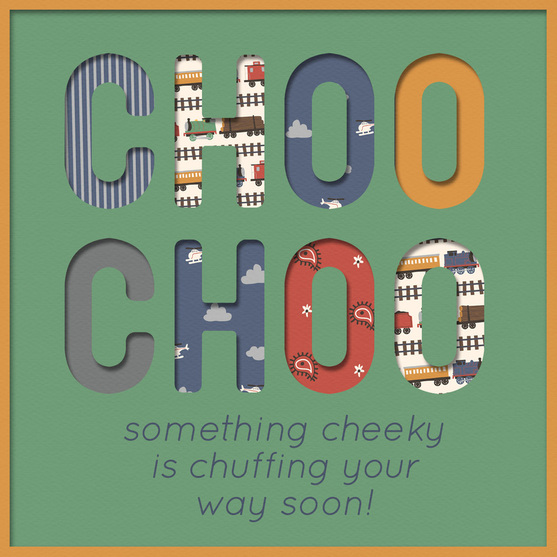
Finally, an all boy kit........designed especially for my daughter. Yep, that's right. My two year old daughter is OBSESSED with anything train. Thomas the Train is her best friend--actually, Billy is her favorite even if he happens to also be the creepiest with his crazy eyes and buck teeth (look him up if you don't believe me). She calls Thomas and Friends "colored choo choo" hence the name of the kit. I love how it turned out (makes me think twice about maybe trying to sell kits). I hope you enjoy!
**A note about the elements: They are supposed to be small, like toys. Please do not enlarge these beyond the original size. They will not look good.**
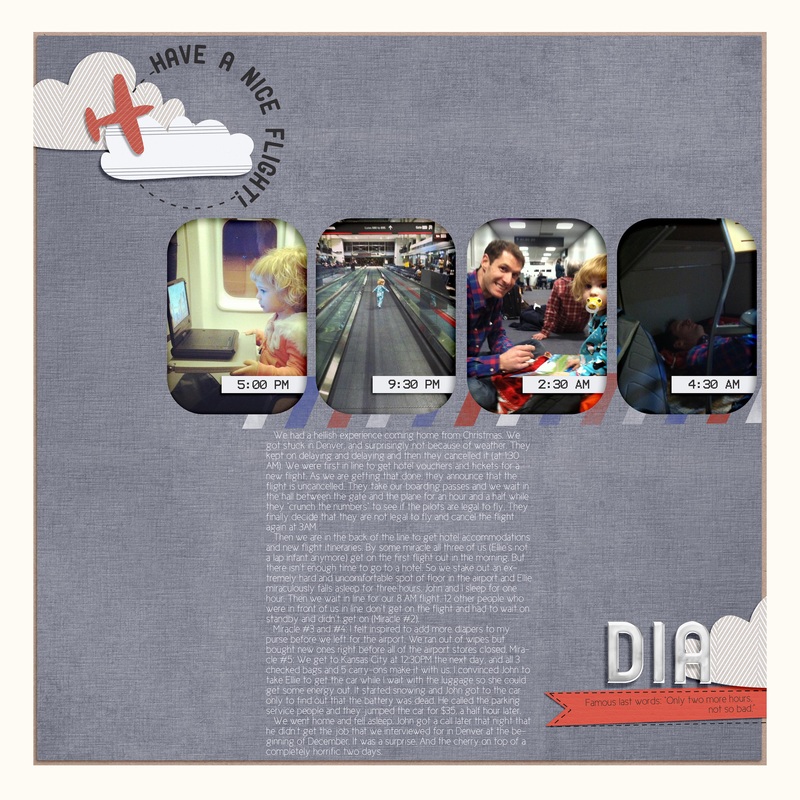
 Use the eraser or shape tool to "punch" out the date As always I love to hear from you! Comments, suggestions, questions, just leave a reply!
As you know, everything created by Elle Designs is for personal use only (i.e. basically you can use them for free for projects that you do not receive money for). However, I have recently received emails requesting permission to use my designs to create commercial products. I have decided that I will offer limited commercial use licenses for approved small businesses. I have researched this thoroughly and am happy with the prices and terms of use. If you have any questions, please email me at [email protected]. Single Kit Commercial Use License
$15.00 per kit, never expires. This license must be purchased for EACH kit you want to use, even if you only use one paper or element from the kit.
12 Month Commercial Use License
$75.00 for use of all kits created within a 12 month period. License would need to be renewed after the 12 months are up if use of the products was to be continued.
Terms of Use for CU Licenses
-Designs may ONLY be used to create custom cards, layouts, blogs, websites, and invitations for your clients provided that they only receive final, flattened versions of the product (i.e. no psd files, no individual papers/elements files, etc).
-Individual designs may NOT be sold or given as is in printed or digital form. They must be incorporated into a design that is predominantly your own. They may NOT be used to create digital scrapbooking kits/products.
-No credit is required, but appreciated. You may not claim these graphics as your own either in their original state, or in an altered state.
-Not to be used for mass production (excess of 500 copies) without permission.
*Prices and terms are subject to change. Application for CU License
If you are interested in purchasing a small business commercial use license, email the information below to [email protected]. Payment should be made using the PayPal buttons on the sidebar, but only AFTER you have received an email stating that you have been approved by me. Once I receive payment I will email you a copy of the license agreement. Full Name: Business Name: Email: Address: Phone Number: Website: Briefly describe the intended use for the products: List products you wish to purchase a license for and the type of license you wish to buy:
Wow, it's already been a year since I started this site! Originally I just wanted a place to put up occasional freebies and give advice on how to start digital scrapbooking, but my love for design has really taken off! My brain is exploding with ideas for kits (but sadly my free time and skill level cannot keep up). I'm planning on another great year!
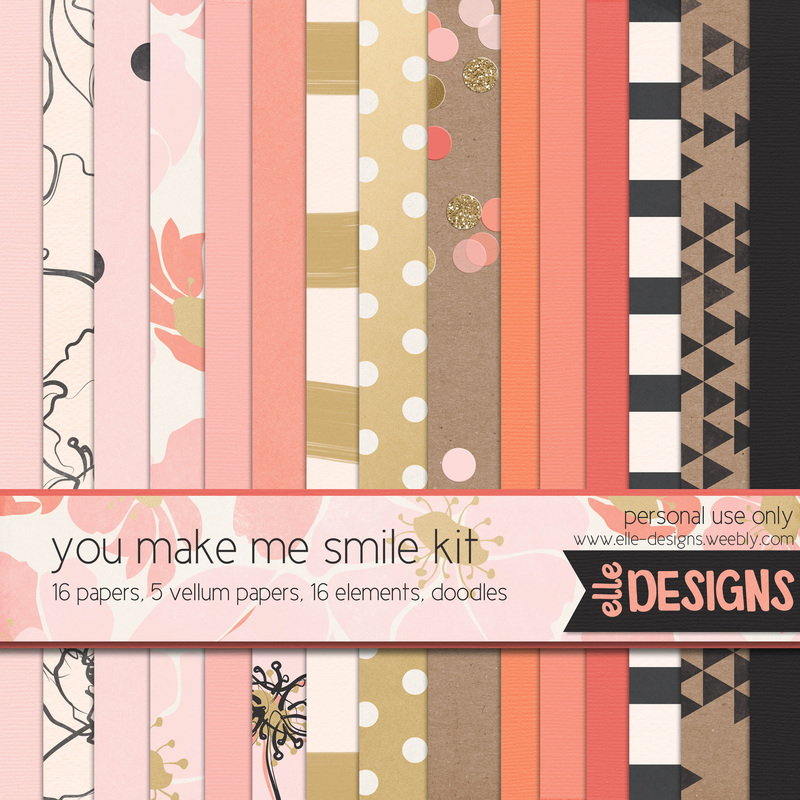
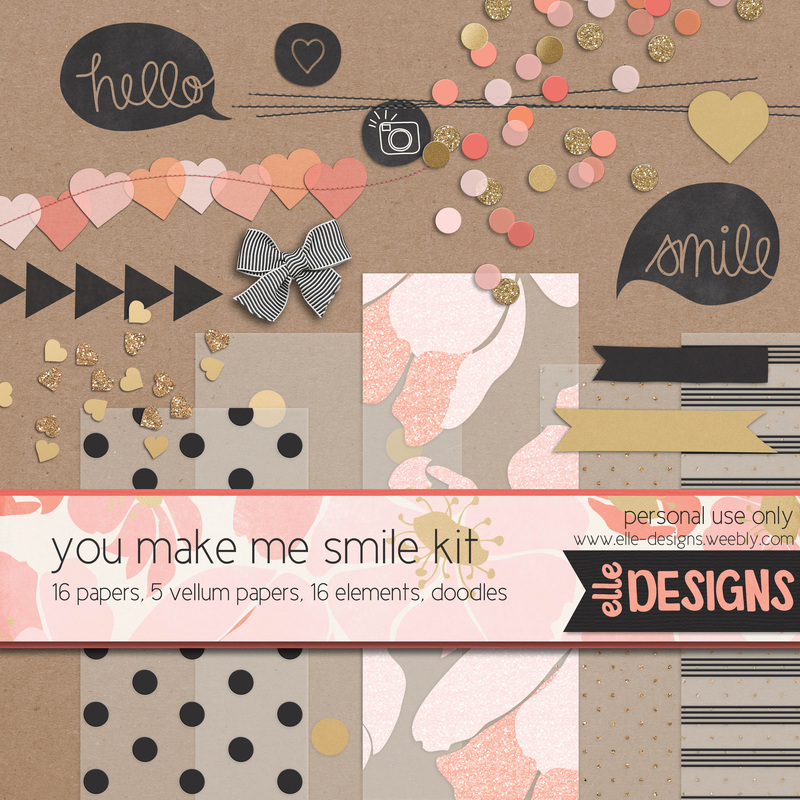
This is the first kit that I deliberately tried to make gender neutral. I tried out 5 completely different color palettes until I finally decided that it's impossible to create a good looking kit without some kind of pink. So it ended up being a hybrid kit. There are boy papers and elements, and girl papers and elements. Or you can mix and match. It's still a tad on the cutesy side--I'll work on bringing out the tough boy designs in the future. Enjoy!
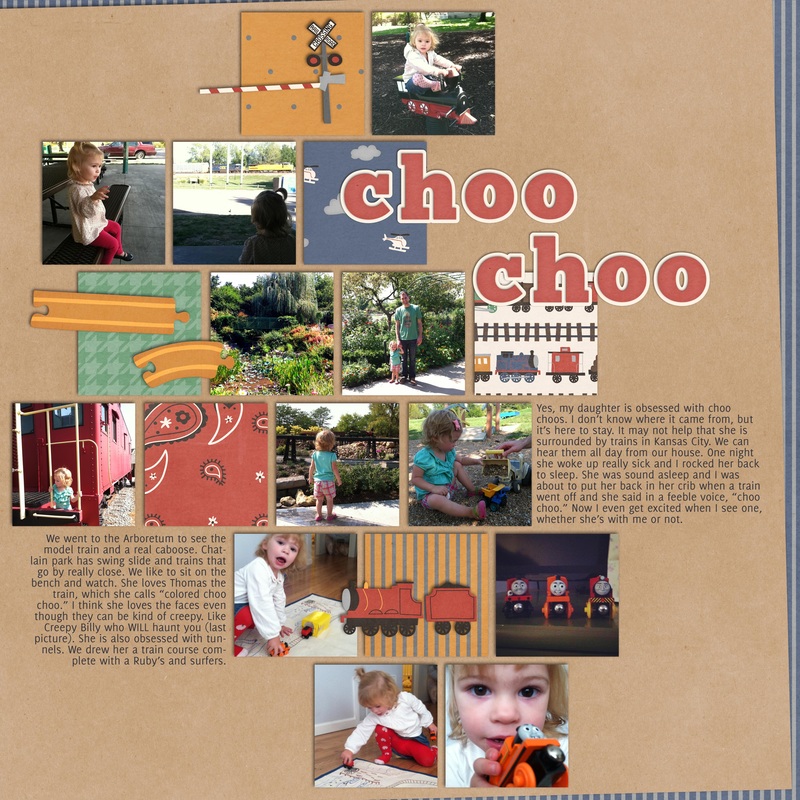
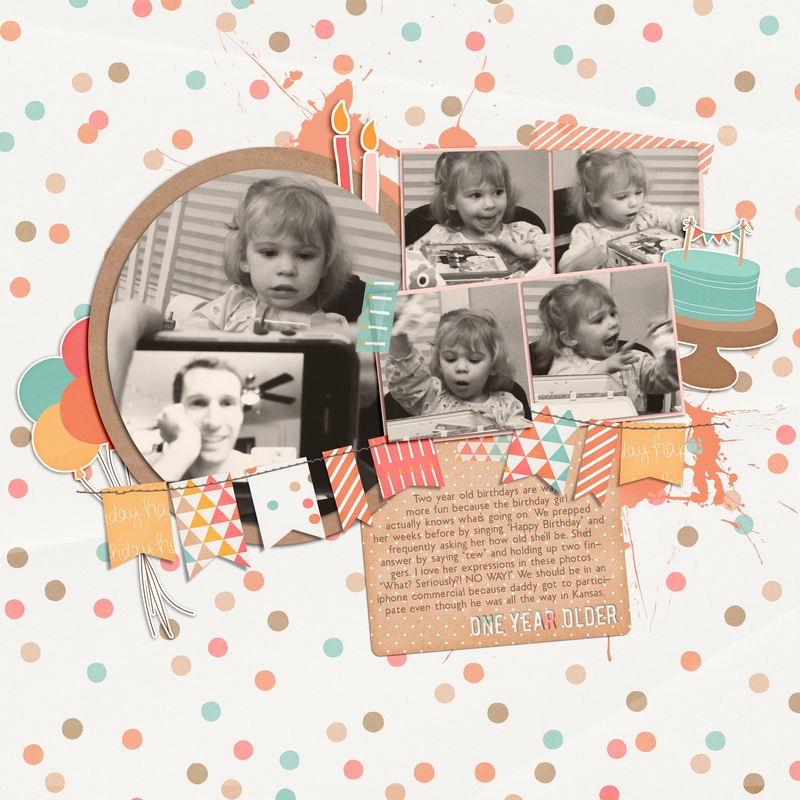
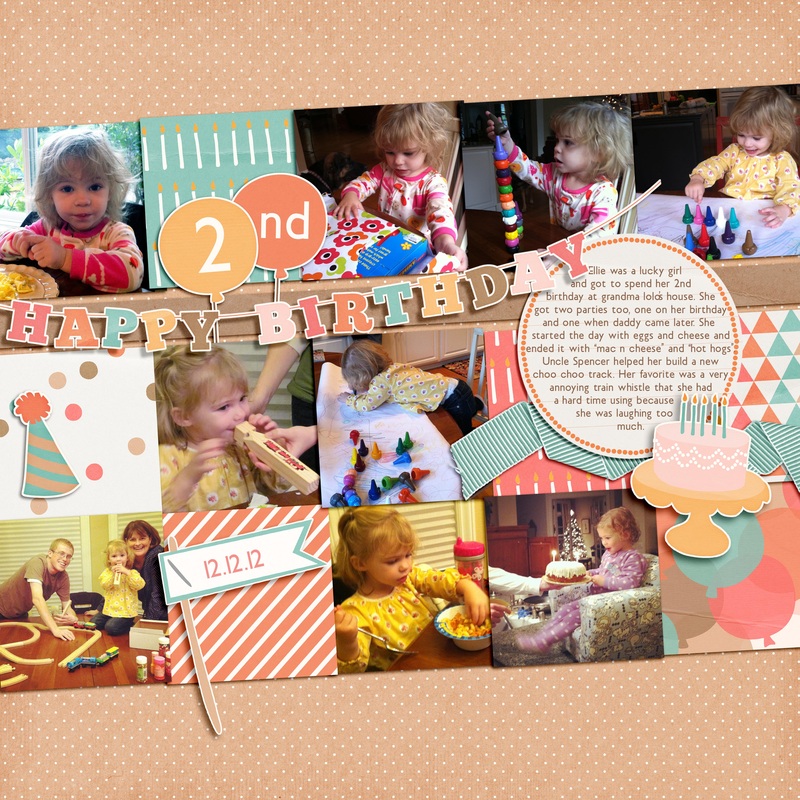
Here's my part of the Pixel Scrapper February blog train (find full list HERE)! Be sure to check back soon because I'm celebrating the first birthday of Elle Designs this month. That means a new free kit for y'all! If you are new to Elle Designs, don't forget to register your email in the box in the side bar so that you can get updates when I post freebies. Also check out the My Freebies tab to see all of the other free kits and templates that I have available for download. Thanks for stopping by! | | 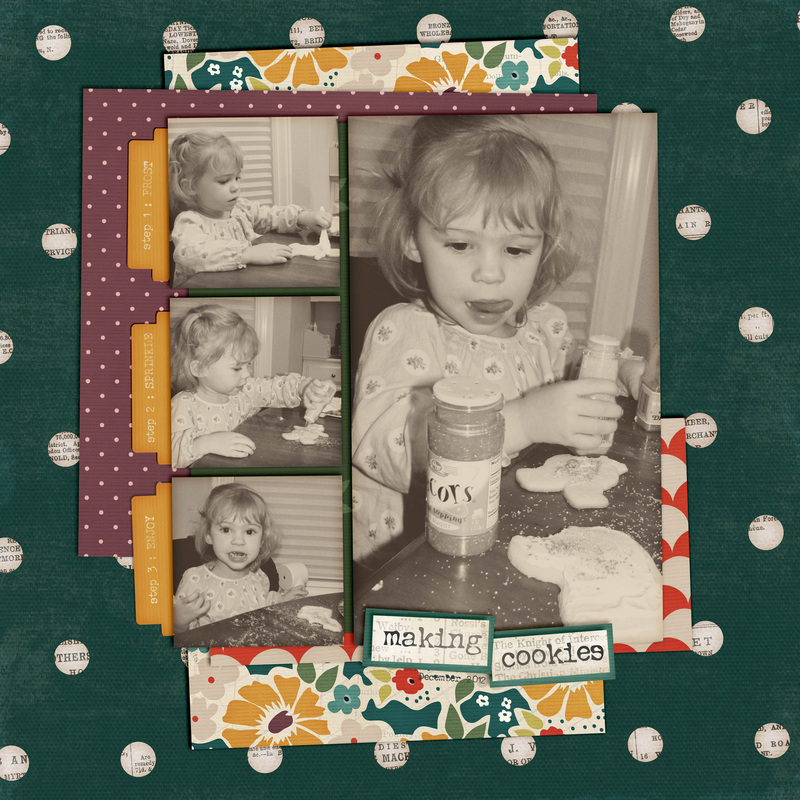 The kit in action! | coming soon!
| latest free kit.
|
The biggest advice I have to save hours of frustration when printing your scrapbook pages is to PREP AS YOU GO. It took me 5 books before I realized that life would be much easier when it came time to print if I prepped my pages as I finished them. Duh Rachel. - Pick a size: Before you even scrap a page, decide on the final size of your book. I usually do 12x12 books, but I have printed 8.5x11, 10x10, and 8x8. Make sure that it is always set for 300 dpi. For all square books design your layouts at 12x12. You can always make them smaller, but you lose quality when you make them bigger.
- Proofread: Don't skip this step. Trust me. I have books with many spelling errors and some books with even bigger errors like "I didn't know you went to Bear Lake" "Oops, supposed it's to be Bass Lake" or "I didn't know you went on a Disney cruise last year" "Oops, we went three years ago." Proofread titles, journaling, dates, names, captions, make sure every layer has a shadow (except for fonts), etc.
- Save: Save your layout as a .jpeg file with the quality set to 12 (highest quality). Create a folder for all of your finished jpeg files. Name the page something useful, like the page number it will be or the title of the page.
- Bleed: Bleed is the caution area required so that nothing important gets cut off in the printing process. Bleed is confusing, and then combined with the space lost where the binding is, I've just found it easier to add a .25 inch white border around all of my pages as a safety measure. Then I never have to worry about uploading my pages as 12.25x12.25 or making sure that elements, photos, and journaling are .25 inches from the edge of the page. To do this I save the page as a jpeg and then drag it onto a template that I've made (you can download below) and saved it again as a jpeg to a folder called "jpeg with border." Download white border template HERE or black border template HERE.
- Upload as you go: As soon as you finish a page, or a set of pages, save them and upload them to the printer's site. Uploading takes FOREVER, even on a fast internet connection. It is so much easier to upload them 5 at a time as you finish them, rather than 78 pages the night before your coupon expires.
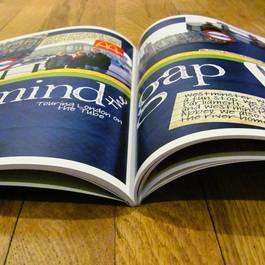
without safety border
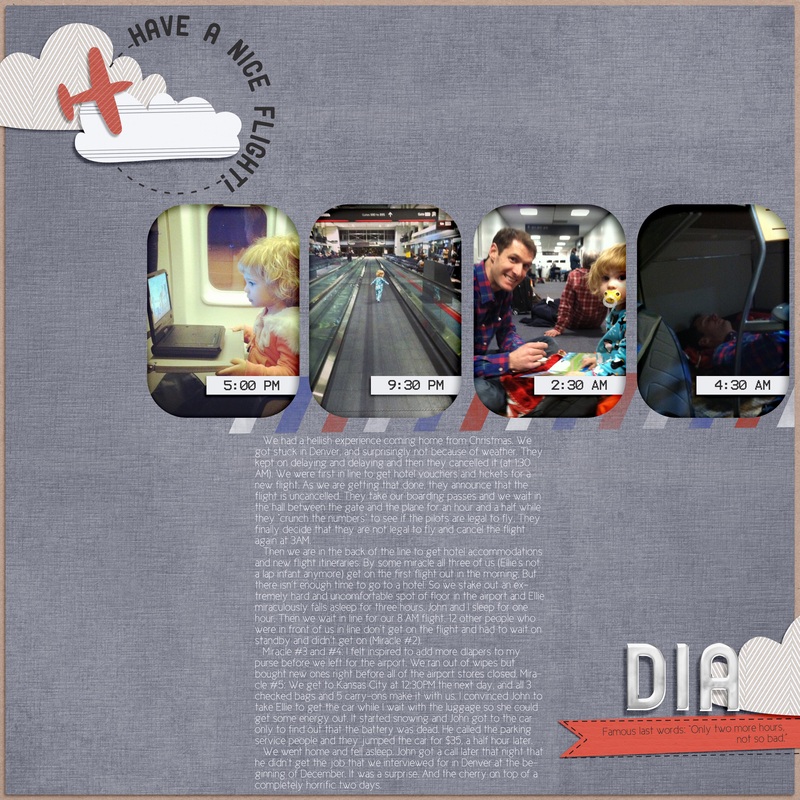
I like to scrap to the very edge--and in this layout, some journaling, the title, and a photo could potentially get cut off in the printing process.
| with safety border
It does make the layout a little smaller, but when the book is 12x12, looking at a 11.75x11.75 layout is still pretty big. Plus the white border is not distracting.
|
Questions about printing? Have tips to add? Just leave a comment!
Up Next: Wrapping it all up
Printing digital scrapbooking pages is the worst part of scrapbooking for me. It takes forever and can be really frustrating. Plus I always have a mini-heart attack when I see the total price of printing a book. Eek! But all of that goes away when you get your book in the mail. Your book, your pages, your memories now recorded forever. I've had a few friends recently ask me questions about how I print my scrapbook pages, so I thought I'd do a three-part series on what I've learned while navigating this complicated process.
**Special note: This review is for people printing completed scrapbook pages, meaning they created those pages in Photoshop NOT with the printer's online program.
choosing a printer.
I have printed books with Shutterfly, Mixbook, Viovio, and Apple. Each company is completely different. You have to decide what you think is most important to you, and then find the company that fits what you want. Hands down Shutterfly creates the most beautiful books I've ever seen, but I'd have to sell my car to print all of my scrapbooking pages. I care about pretty pages, but I also care about price--otherwise nothing would ever get printed. Viovio has been my favorite company for printing photobooks because it is reasonably priced and the quality is great (i.e. the cover and binding are sturdy, the paper is decent weight, the colors are true to the original). I created a chart to compare prices among the popular printers, but of course Weebly won't let me paste it here so if you want to see the entire comparison, you'll have to download the document below (this is the updated document).
 | printer_price_comparison.docx | | File Size: | 12 kb | | File Type: | docx |
Download File
cost comparison summary
(50 page 12x12 hard cover book)
- Costco: $53.79
- Paper Kiwi: $62.99
- Viovio: $72.49
- Blurb: $84.95
- Mixbook: $87.49
- Picaboo: $89.79
- Shutterfly: $99.99
- Persnickety Prints: $110.69
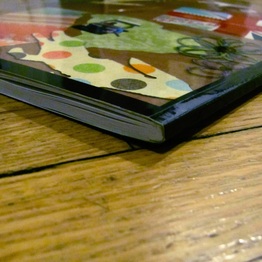
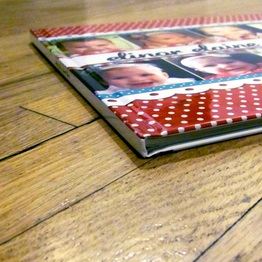
Costco has example books to look through at their warehouse. While I love their photo prints, the books feel flimsy and cheap like the pages would rip very easily. I've never tried Paper Kiwi, but maybe I should next time. Even after the comparison I would probably still stick with Viovio because of my personal preference for their 12x12 soft cover books. I don't like hard cover scrapbooks because they are harder to read and hold. I love the soft cover book because it feels more friendly like a magazine (though much much much higher quality). Plus a 50 page 12x12 soft cover book through Viovio only cost $55.49. Entirely my personal preference. The main point is to do your research and read user reviews before committing to a book (and the hefty price that comes with it).
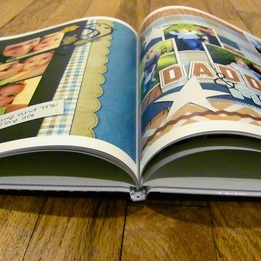
Viovio Soft Cover
| Mixbook Hard Cover
| Next up: Preparing your pages for printing, bleed, etc.
coming soon.
 New kit in the works for the special occasion!
 I hope y'all had a wonderful Christmas holiday! We found out over the break that we will be welcoming a new baby BOY into our family in May! I'm very excited but also a little scared. I understand girls, boys on the other hand...then there is the whole issue of scrapbooking boy pages. Sheesh. It's hard to make a page or find a kit that isn't too girly. So you should expect plenty of boyish kits from me in the future. I promise. But for now I had to get out one last girly kit (I mean super girly--glitter, pinks, hearts, etc.). Enjoy!
**Be sure to sign up in the box on the sidebar for email updates--two more free kits coming soon!**
|