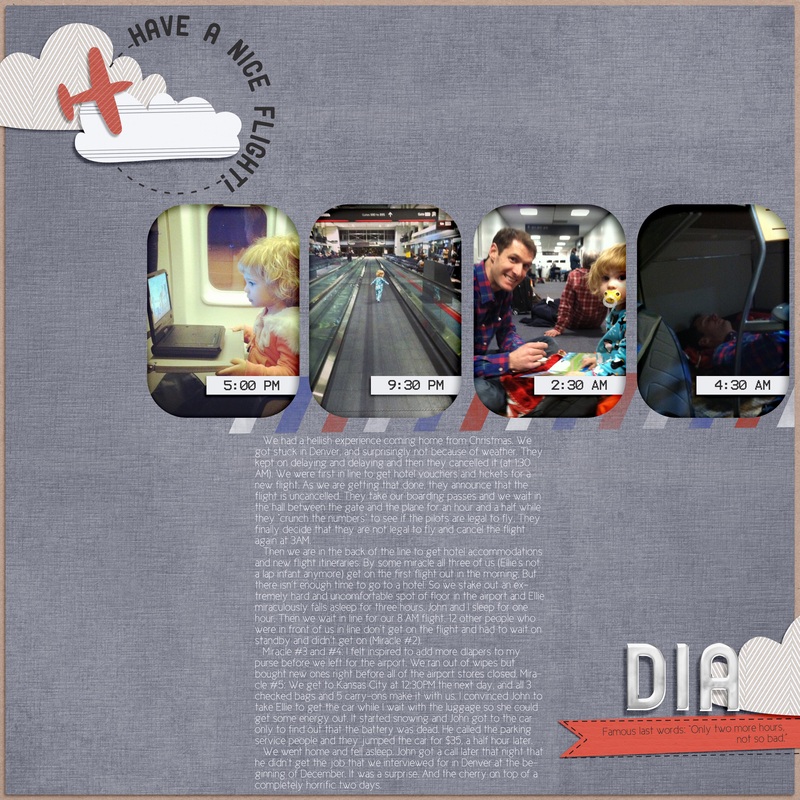
- Pick a size: Before you even scrap a page, decide on the final size of your book. I usually do 12x12 books, but I have printed 8.5x11, 10x10, and 8x8. Make sure that it is always set for 300 dpi. For all square books design your layouts at 12x12. You can always make them smaller, but you lose quality when you make them bigger.
- Proofread: Don't skip this step. Trust me. I have books with many spelling errors and some books with even bigger errors like "I didn't know you went to Bear Lake" "Oops, supposed it's to be Bass Lake" or "I didn't know you went on a Disney cruise last year" "Oops, we went three years ago." Proofread titles, journaling, dates, names, captions, make sure every layer has a shadow (except for fonts), etc.
- Save: Save your layout as a .jpeg file with the quality set to 12 (highest quality). Create a folder for all of your finished jpeg files. Name the page something useful, like the page number it will be or the title of the page.
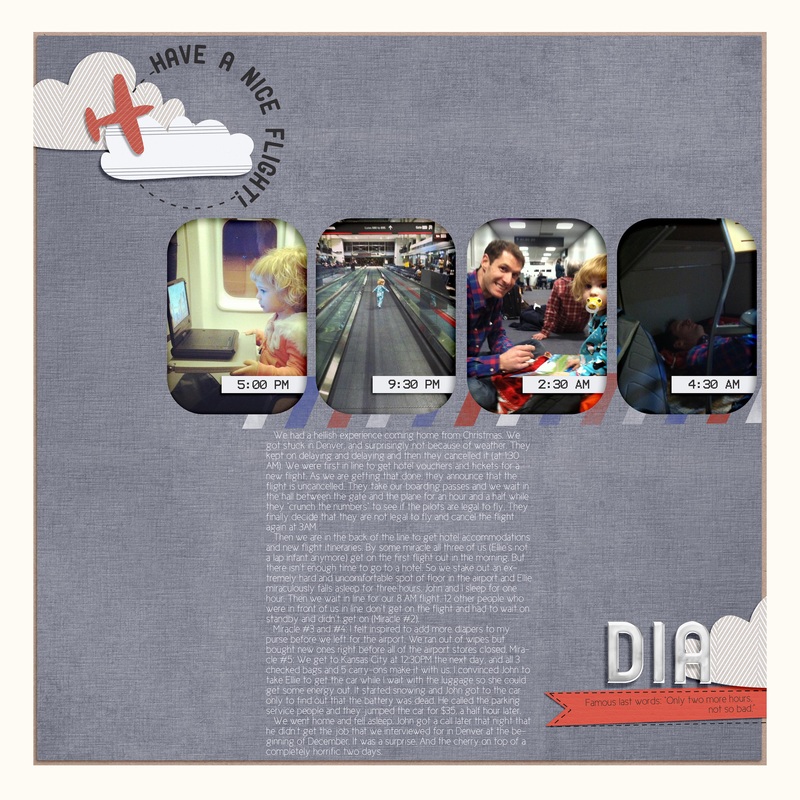
- Bleed: Bleed is the caution area required so that nothing important gets cut off in the printing process. Bleed is confusing, and then combined with the space lost where the binding is, I've just found it easier to add a .25 inch white border around all of my pages as a safety measure. Then I never have to worry about uploading my pages as 12.25x12.25 or making sure that elements, photos, and journaling are .25 inches from the edge of the page. To do this I save the page as a jpeg and then drag it onto a template that I've made (you can download below) and saved it again as a jpeg to a folder called "jpeg with border." Download white border template HERE or black border template HERE.
- Upload as you go: As soon as you finish a page, or a set of pages, save them and upload them to the printer's site. Uploading takes FOREVER, even on a fast internet connection. It is so much easier to upload them 5 at a time as you finish them, rather than 78 pages the night before your coupon expires.
without safety border | with safety border |
Questions about printing? Have tips to add? Just leave a comment!
Up Next: Wrapping it all up


