This is part two of the drop shadow tutorials. Make sure you understand the basics first (find that tutorial here). Today's tutorial will be about warping shadows. Sometimes I get jealous of real Photoshop users because they can do so much more with shadows, like warp them. When you look at shadows in real life, the shadow usually doesn't follow the edge evenly on all sides. But that is the only option you have on PSE, even after altering. That is okay on most things, but sometimes you need to do more with things like strings that don't lay perfectly flat. To illustrate what I mean, look at my examples below (click to enlarge if you need to). Look at the blue string. With the regular shadow it looks flat. That's fine, but then look at the warped shadow. More realistic right?
regular shadow 
| warped shadow 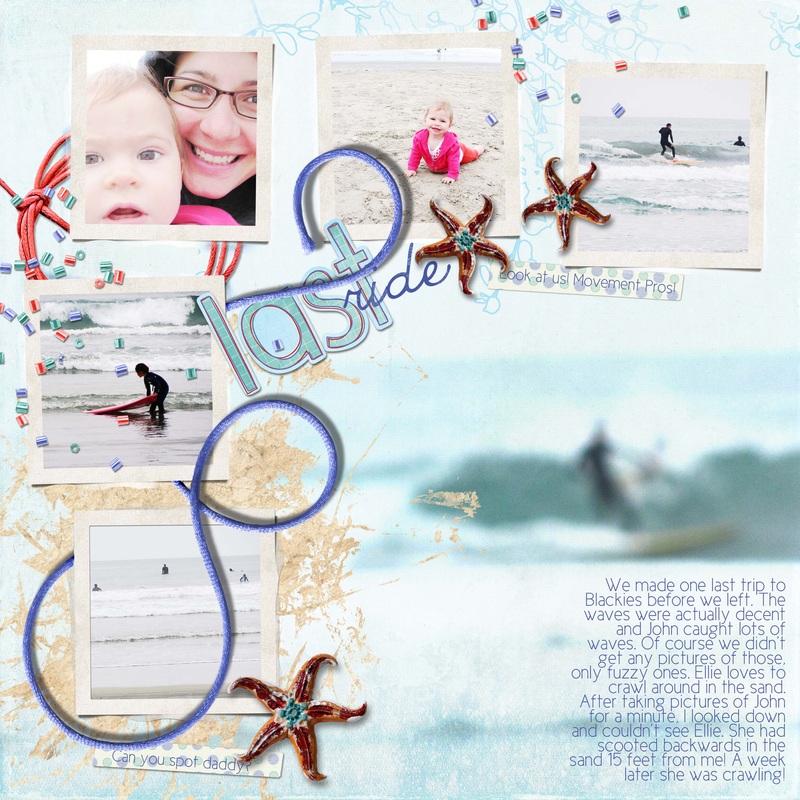
|
I was going to do my own tutorial, but then I found this excellent one online. Why reinvent the wheel?
Find the tutorial on how to warp shadows in PSE at the site below:
http://scraporchard.com/forum/showthread.php/20732-Warping-Drop-Shadows-in-PSE
Let me know if you have any questions.
Find the tutorial on how to warp shadows in PSE at the site below:
http://scraporchard.com/forum/showthread.php/20732-Warping-Drop-Shadows-in-PSE
Let me know if you have any questions.