In my opinion, templates are the biggest money waster in all of digital scapbooking. First of all because most of them usually only showcase ONE or two pictures. Seriously? C'mon. (My ghetto students used to pronounce that as "see-mon") Who really only has one picture to scrap? Secondly, because they are so easy to make! Unless a layout is really fancy and includes shapes or other things I can't make myself, I choose to make my own. I learned that the hard way after doing the layout below.
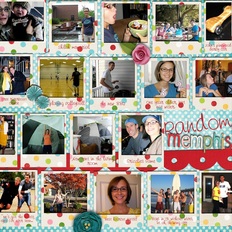
layout by Cinzia Designs
| 
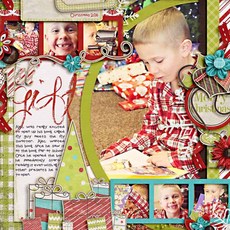
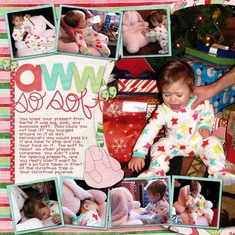
layout using TBorges Other Colors of Christmas kit
|
Hers is cute. Mine is so ugly that it is cringe-worthy. I hate it. Plus it took me hours and hours and hours to do. Should have just bought the template. But remember that this is the exception. In the tutorial below I will show you how I made my own template from the layout on the lower left for my page on the lower right.
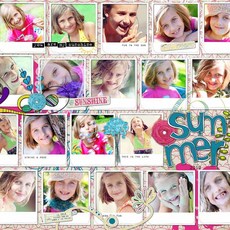
layout by Cami a CT for Little Green Frog Designs
| 
layout used Shabby Princess Sugarplum Dreams kit
|
how to create your own template
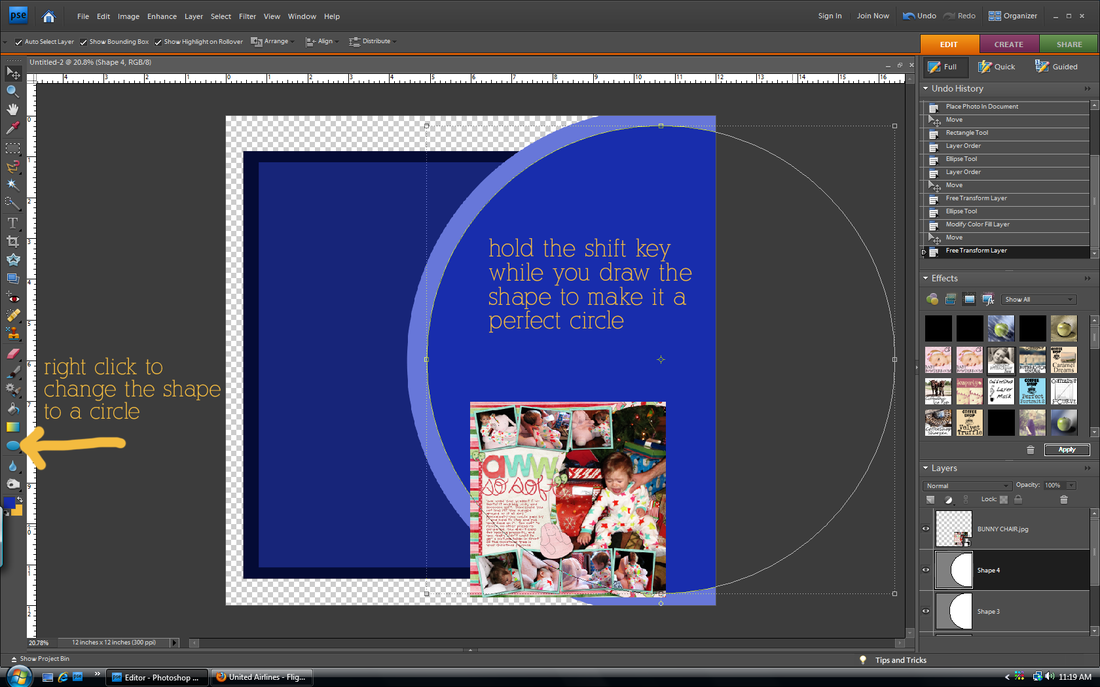
draw your background shapes

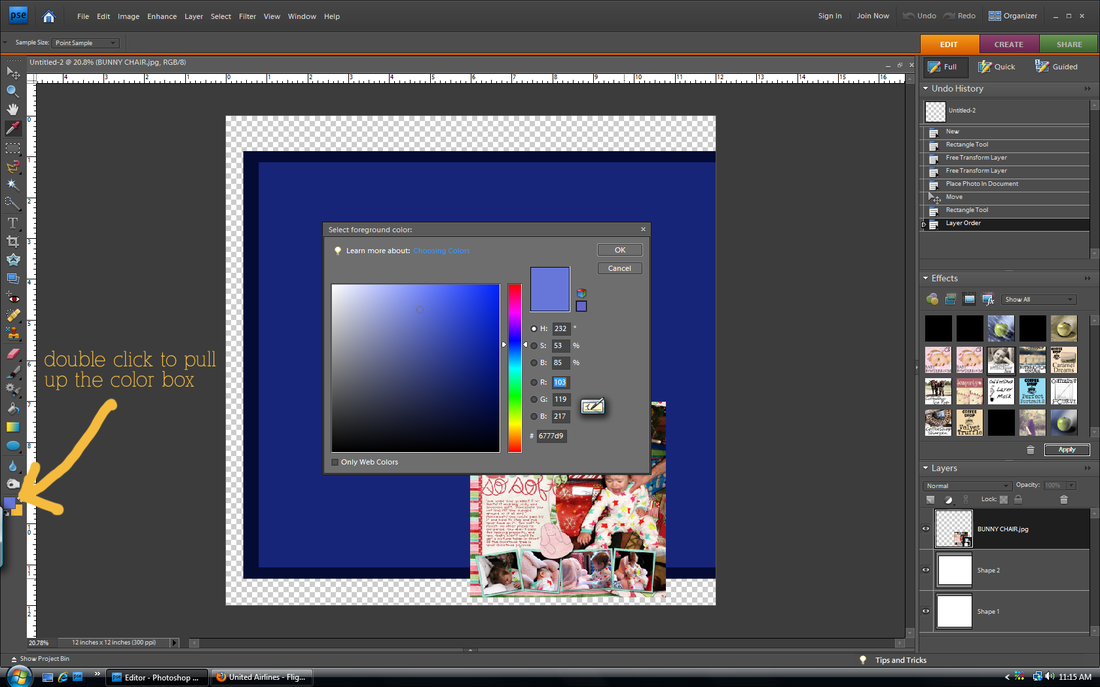
Change your shape colors as you go so that each layer is a different color. Otherwise they will all blend together.
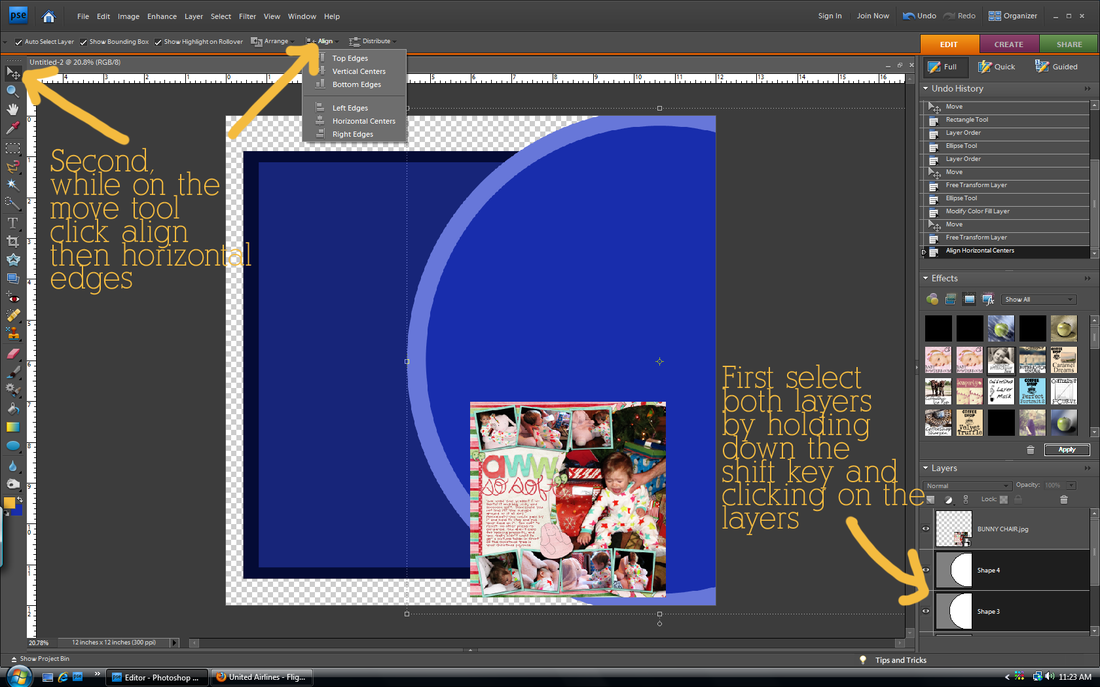
The align and distribute tools are very cool. Especially when you are making a layout with boxes that need to be lined up right and spaced evenly. Play around with it.
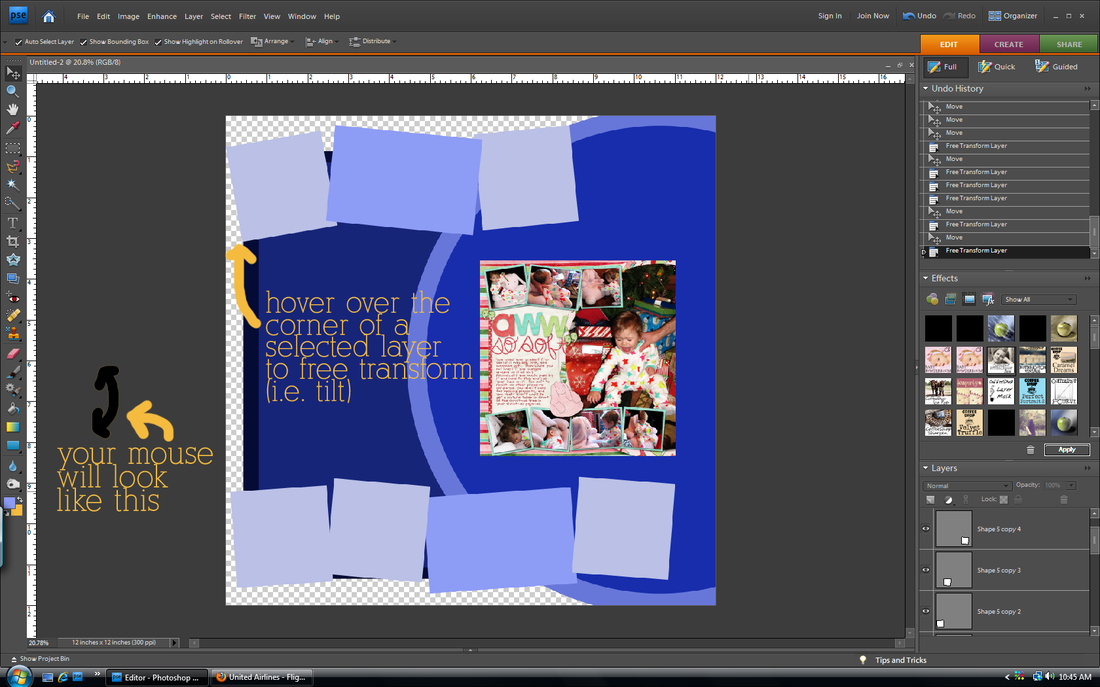
draw your photo shapes
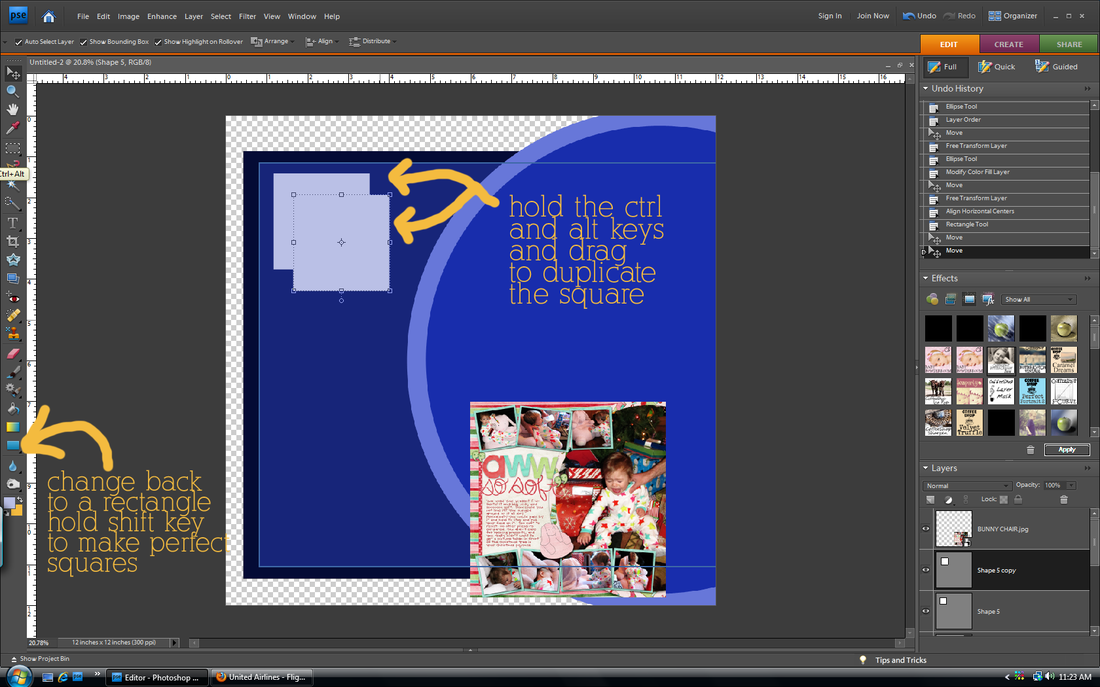
That says hold ctrl and alt keys. Such a time saver!
add photo mats

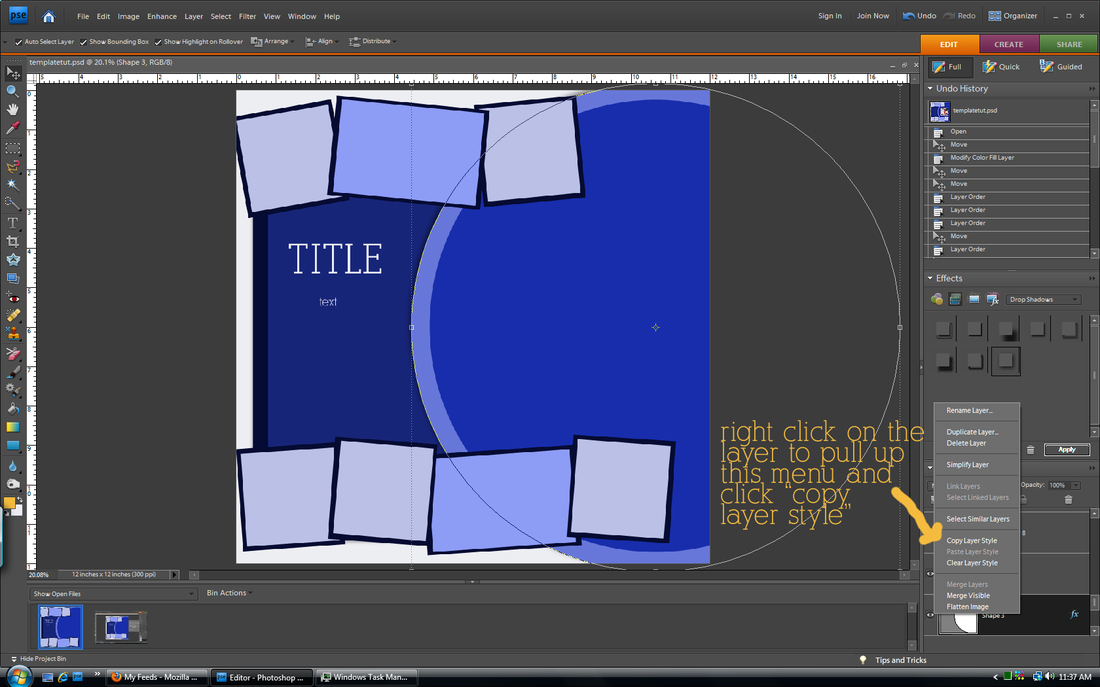
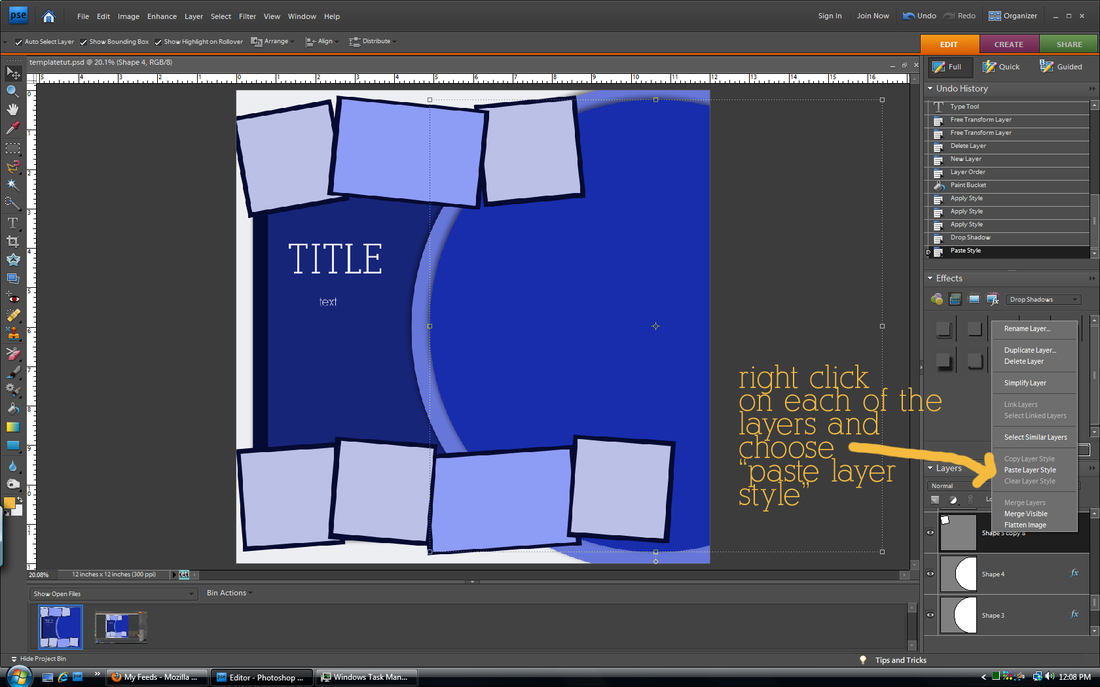
add drop shadows
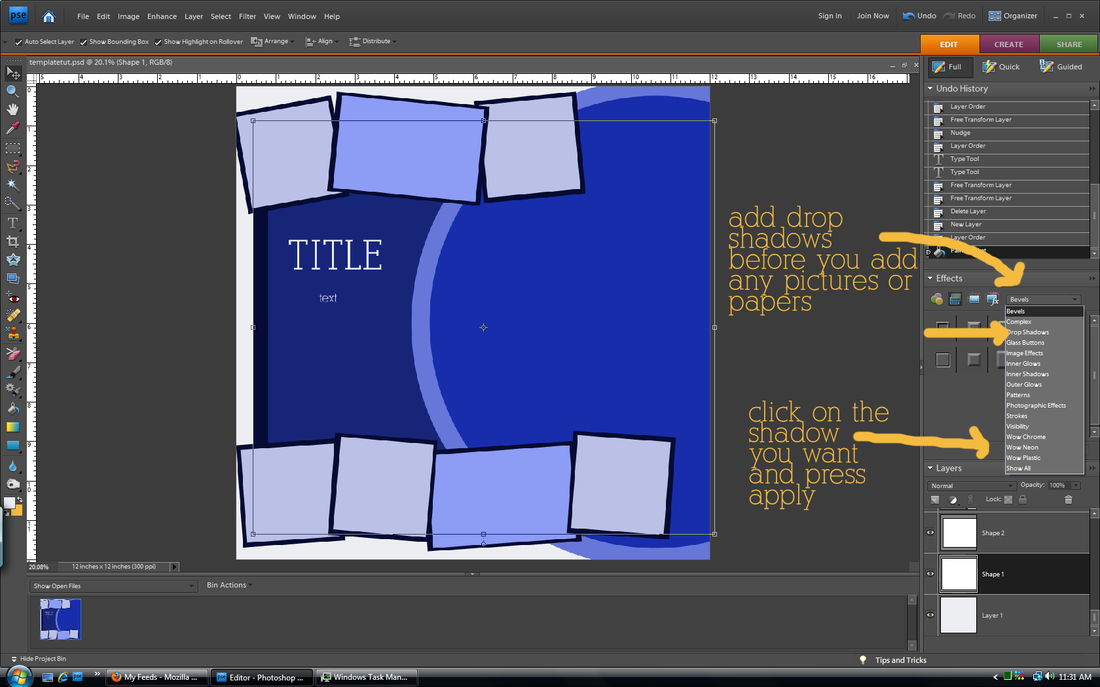

The default drop shadows don't always look the best. Follow the above step to customize them.
tada! template done!
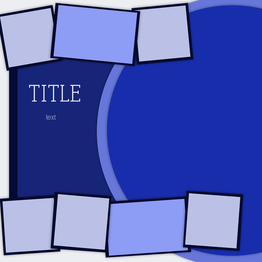
SAVE!!!!! Then you can use this template over and over at the stage it is now, instead of when it has all of your pictures. You can alter it for another page, or use some of the shapes as a basis for another template you make later.
add your photos and papers

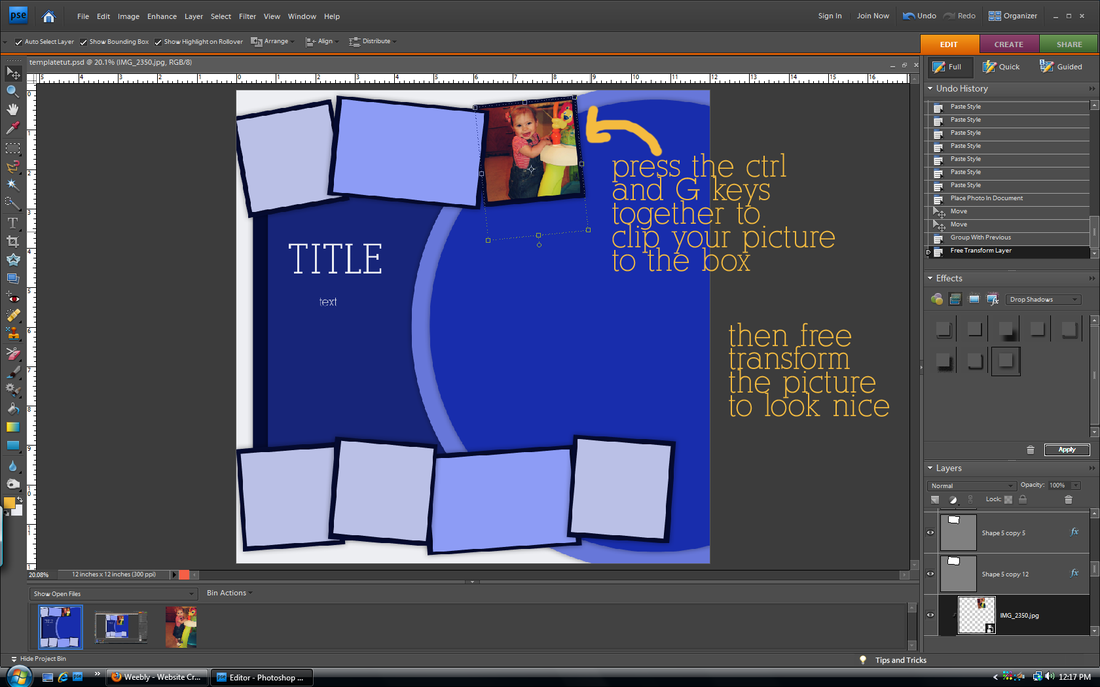
Continue clipping papers and photos to your shapes. Then you can add words, a title, and elements as you wish!
You will get faster. At first it may seem like it is not worth it to make your own, but eventually you will be a pro.
This is my first tutorial where I use the still screenshot. Let me know if it is confusing or if you have any questions!
You will get faster. At first it may seem like it is not worth it to make your own, but eventually you will be a pro.
This is my first tutorial where I use the still screenshot. Let me know if it is confusing or if you have any questions!