So, I was working on an Easter kit. Then it turned into two different mini-kits. Oh well, you get both for free. There aren't many elements because I lost steam and ideas and ability. The good news is that I finally got Photoshop CS and Illustrator! That means that once I learn how to use these intimidating programs, you will get even better free stuff. The bad news is that this will probably be my last post for a while. I am moving across the country and taking several long vacations over the next two months, and I won't have a computer. So, I am taking a short break, but I will be back with tons of creative ideas in July. I'm very sad to leave y'all for so long because I just started the site. Please stick with me and I promise I will be back! I will still post freebies to my pinterest board "Scrapbooking Freebies," so make sure that you follow that board for the latest freebies during my absence from the blog. (scroll down for my free Easter mini-kits)
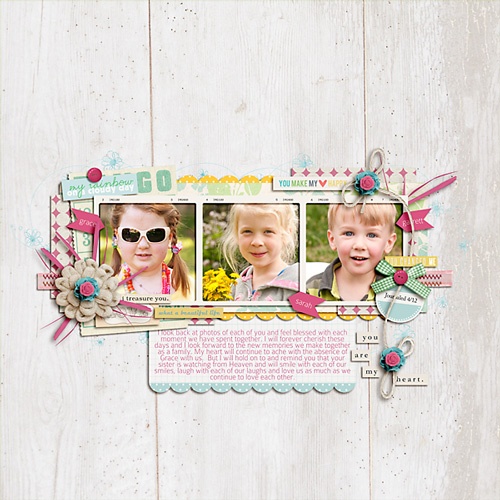
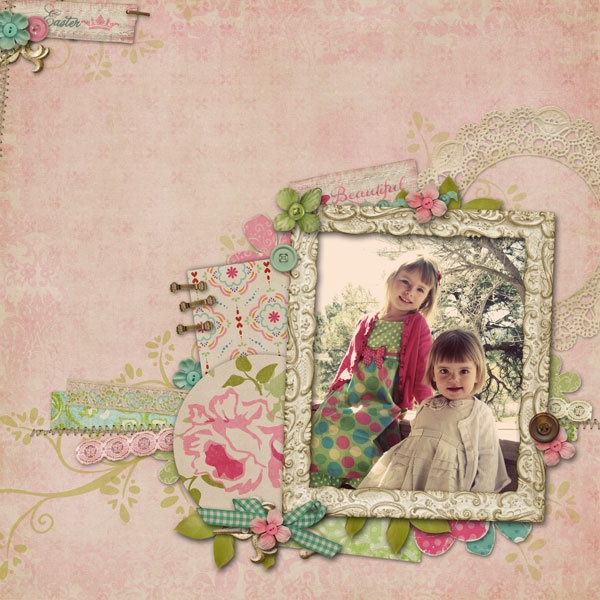
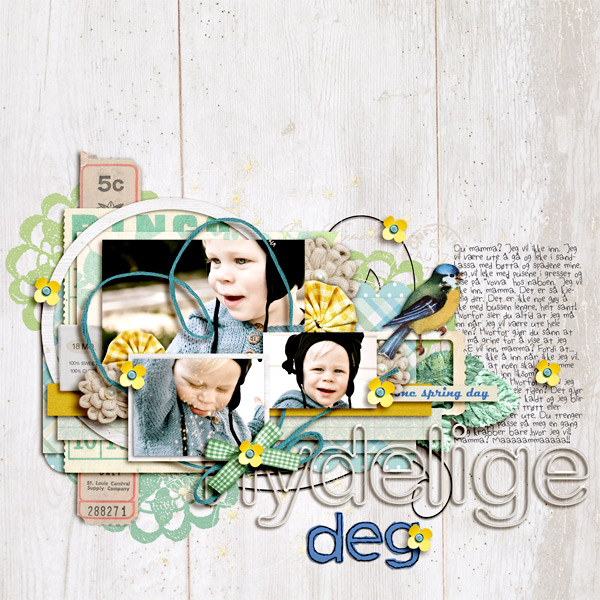
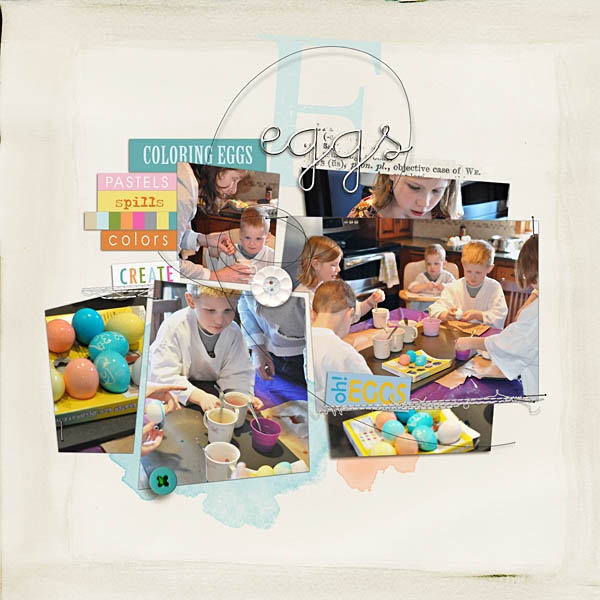
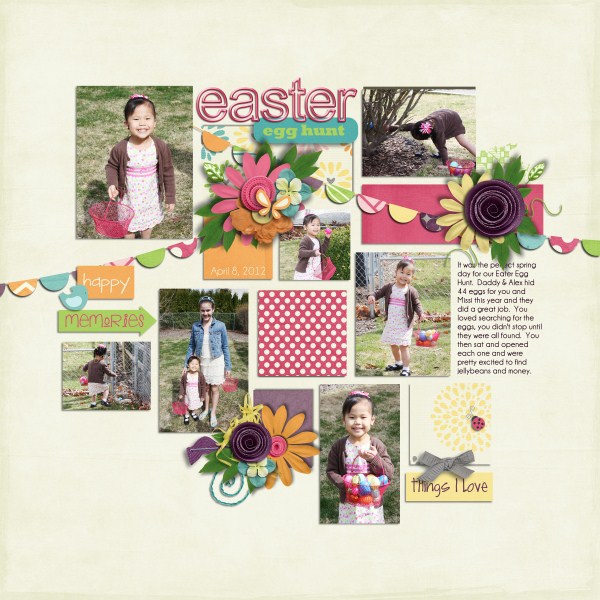
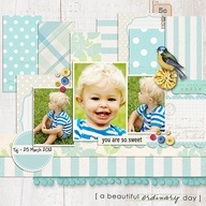
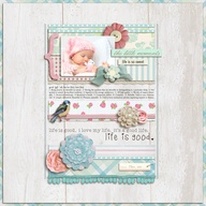
Here are some inspiring Easter/springtime layouts to help you scrap your Easter pictures. Click on the picture to link to the original page.
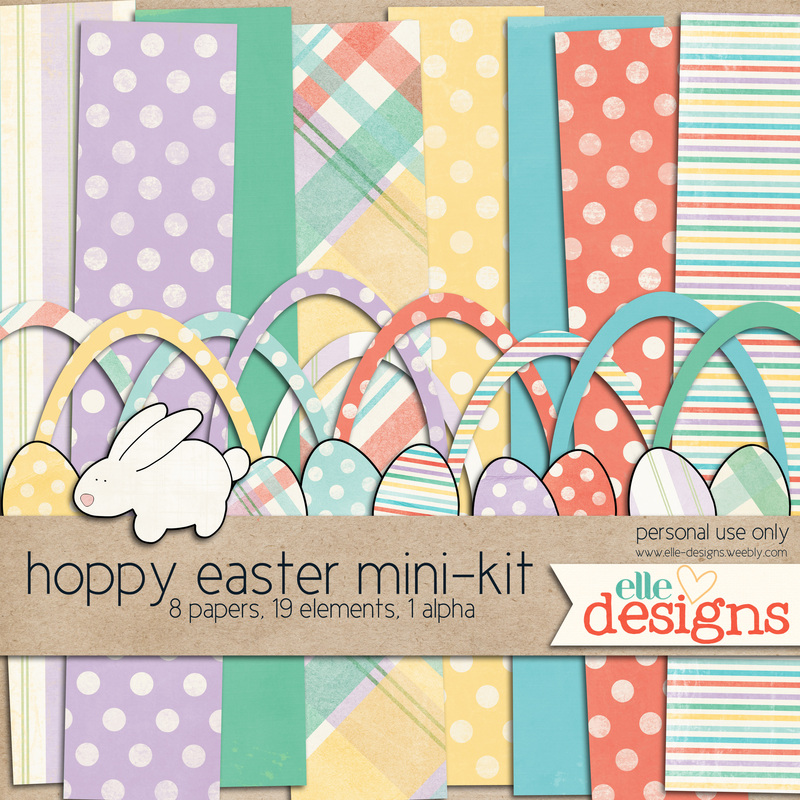
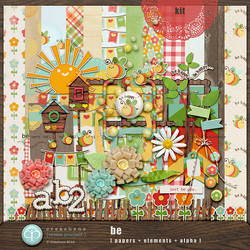
free easter mini-kit (number 1)
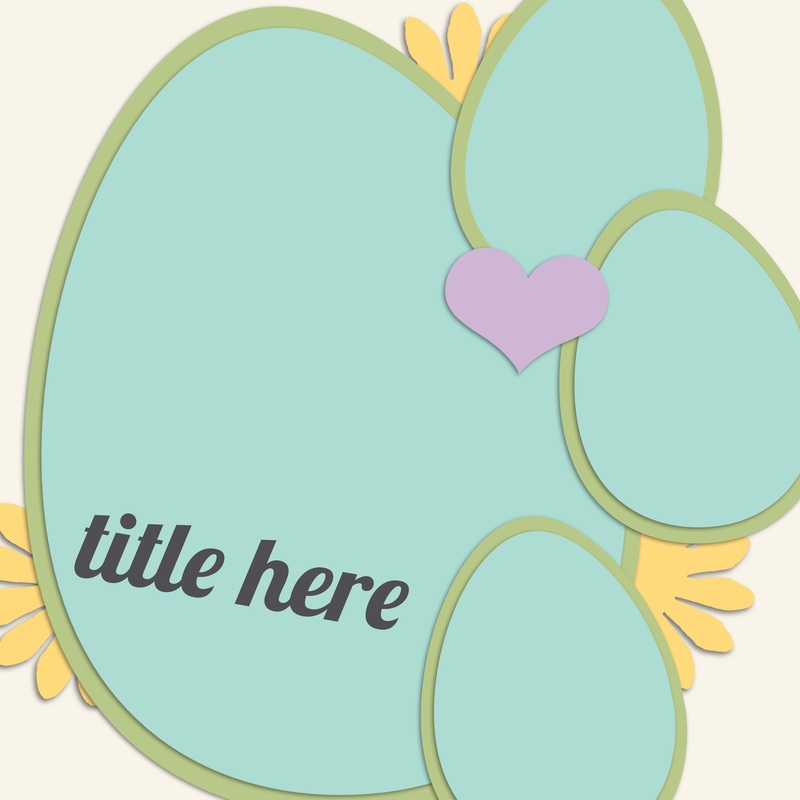
Page I did with the kit that is also available for download as a quickpage or template
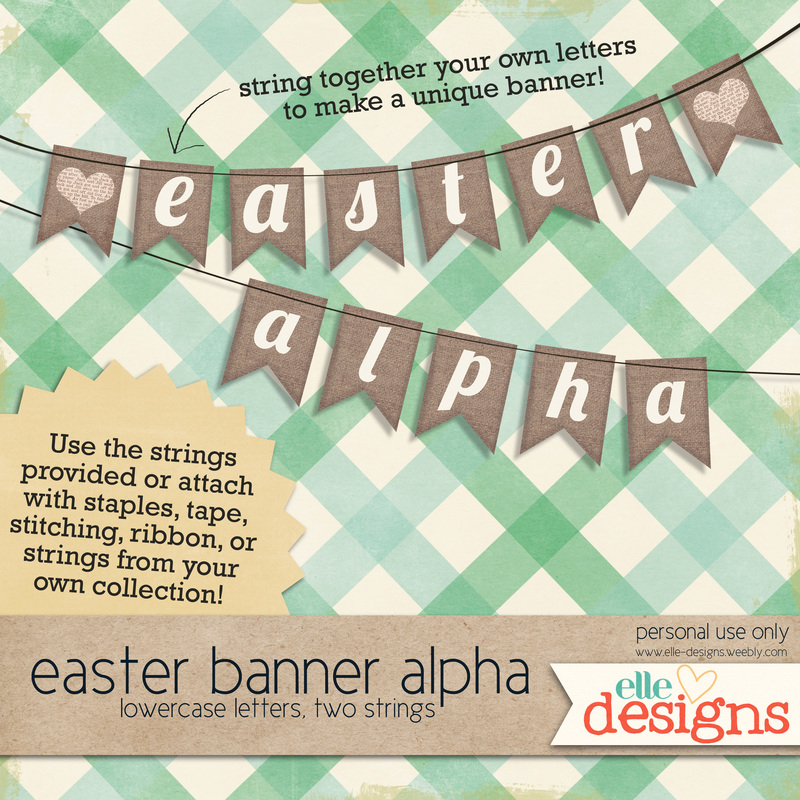
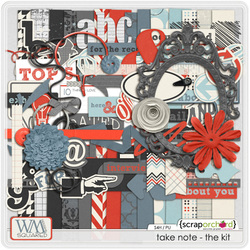
free hoppy easter mini-kit (number 2)
The green gingham and blue polka dot paper from the Easter kit also match this kit
|
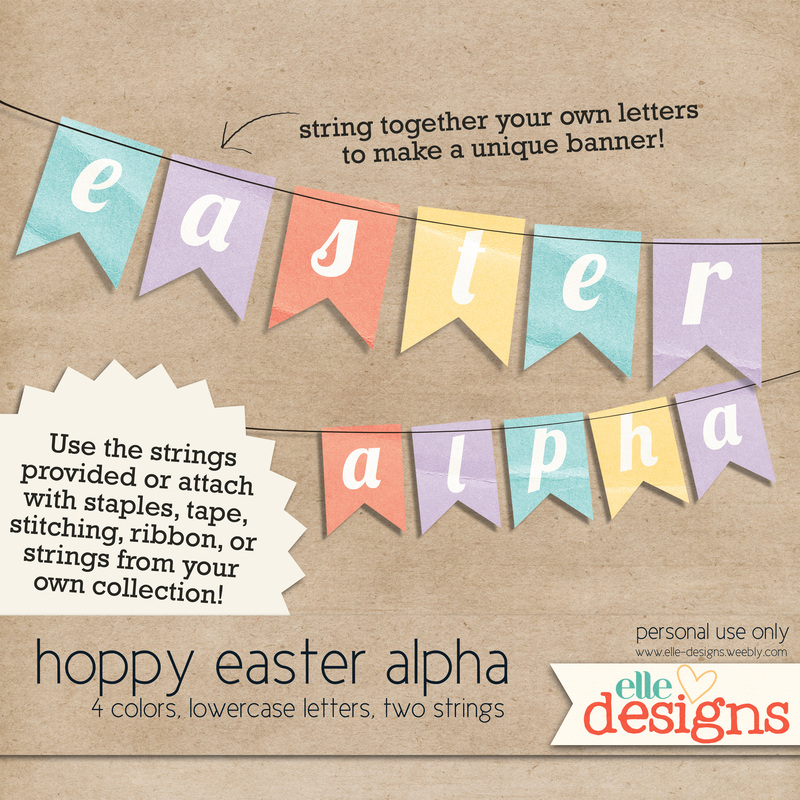
Please, please, please use stitching and string from other kits for this alpha, I don't know how to make those myself yet.
| See you in two months!
(I will have access to email so I can answer questions if you have any)
Not much in the way of freebies today. But I read in the Scrap Orchard newsletter that iNSD, or National Scrapbooking Day, is coming up soon! i.e. LOTS of freebies and sales! I googled it and it is the first Saturday in May. Yes! I thought I would miss it because we are moving, but I'll still have a couple of days to download all of the goodies. Right now the Lilypad, one of my favorite stores, is having a storewide 30% off sale. Not great considering their kits are very expensive, but they rarely have sales better than that, so I would go for it if you have something on your wishlist there. Since there weren't any good freebies out today, I made my own for you. I wanted to have the Easter kit done by now, but that didn't happen, so today you get a quickpage and a template using the kit.

the page I did with it
the template
|
the quickpage
| Download link for the Quickpage and Template: click here**Remember to send me your layouts to post to the gallery**
This is part two of the drop shadow tutorials. Make sure you understand the basics first (find that tutorial here). Today's tutorial will be about warping shadows. Sometimes I get jealous of real Photoshop users because they can do so much more with shadows, like warp them. When you look at shadows in real life, the shadow usually doesn't follow the edge evenly on all sides. But that is the only option you have on PSE, even after altering. That is okay on most things, but sometimes you need to do more with things like strings that don't lay perfectly flat. To illustrate what I mean, look at my examples below (click to enlarge if you need to). Look at the blue string. With the regular shadow it looks flat. That's fine, but then look at the warped shadow. More realistic right? regular shadow
| warped shadow
|
I was going to do my own tutorial, but then I found this excellent one online. Why reinvent the wheel? Find the tutorial on how to warp shadows in PSE at the site below: http://scraporchard.com/forum/showthread.php/20732-Warping-Drop-Shadows-in-PSELet me know if you have any questions.
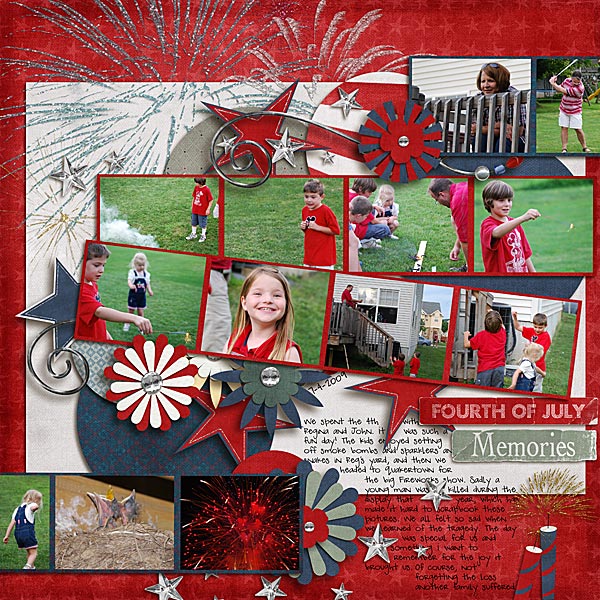
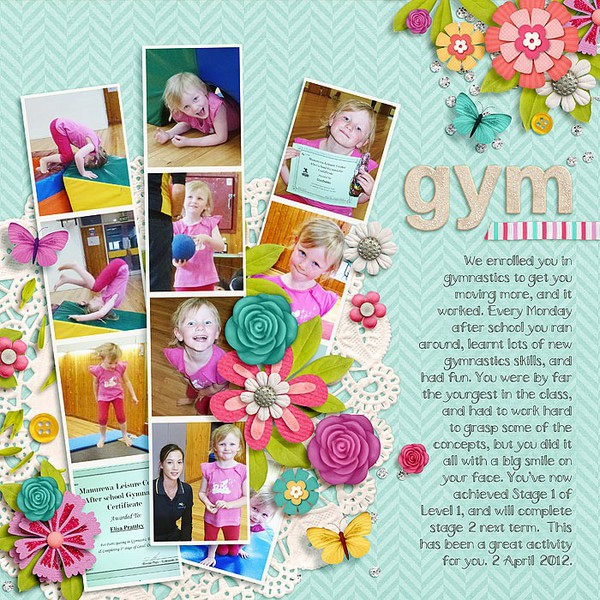
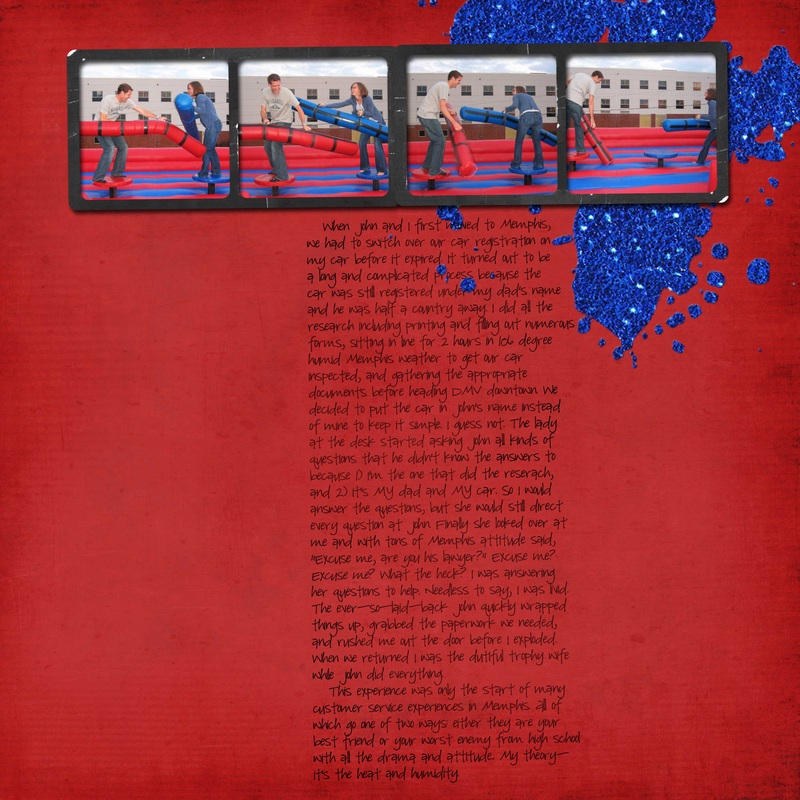
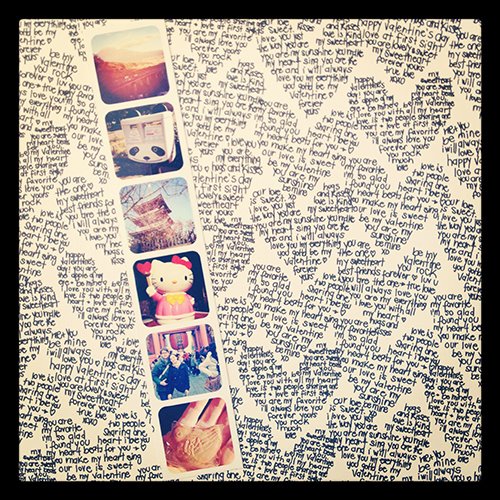
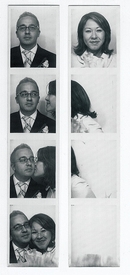
I'd like to think that I was the originator of the photobooth craze. I got the idea pre-pinterest, pre-me being on facebook, pre-blog, pre-scrapbooking six years ago as my fiance and I were standing in line for a movie. I saw a photobooth next to us in the theater and I had the brillant idea to do photobooth pictures for our engagement pictures to be sent out with the invitations. Now it isn't such a novel idea because everyone who is anyone has a photobooth at their reception, but I still like to believe I was the first. ;) Photo strips are easy ways to incorporate lots of photos onto one page. Especially if you have kids like me and you end up taking a bagillion pictures in a row to capture movement and smiles and then end up using all of them because gosh dang it, your kid is the cutest kid EVER. There are lots of things for sale to help you out, but you can always create your own using my how to create your own template tutorial. Click on the photos below to see the original link.
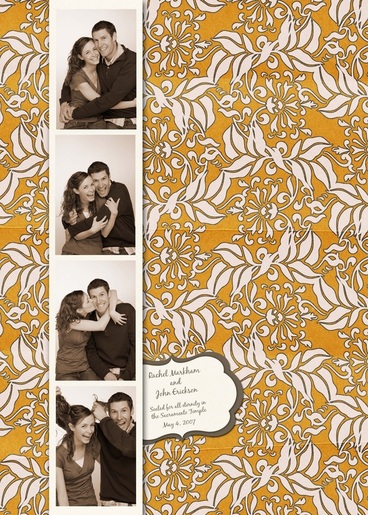
proof. the strip was included in the invitation sent out for our wedding. Need to do a better page with it.
strips used to show action
minimalist but cute. I saved this one a long time ago too. don't know where it is from. oscraps??
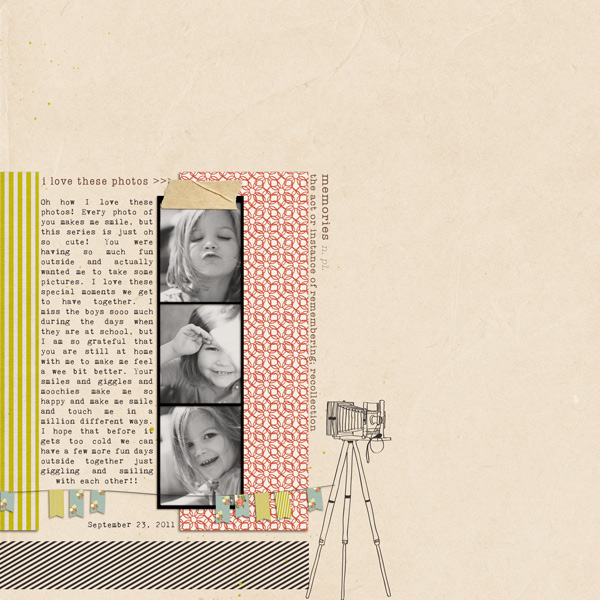
use photo strips as a block to show facial expression change
I don't like her frames, they are too simple and boring compared to the excellence that is the rest of the page. I would have done them in a different color. But I like her strip placement.
I can't find the link for this one. I saved it a long time ago. I love it for so many reasons-the title behind, the color, the banner, the cut out blocks...
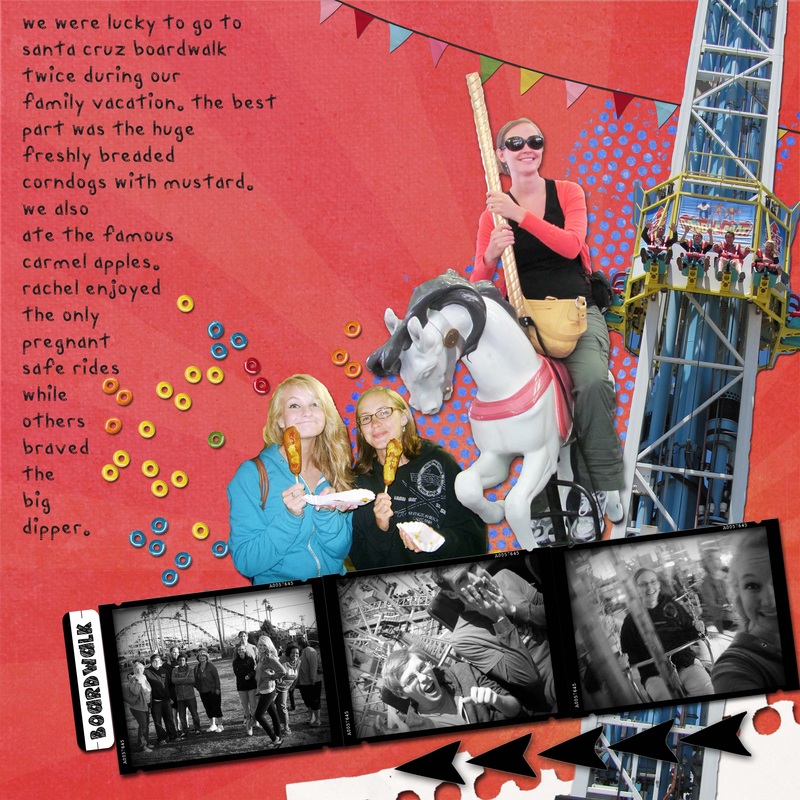
another one of mine. you can use strips as part of a collage
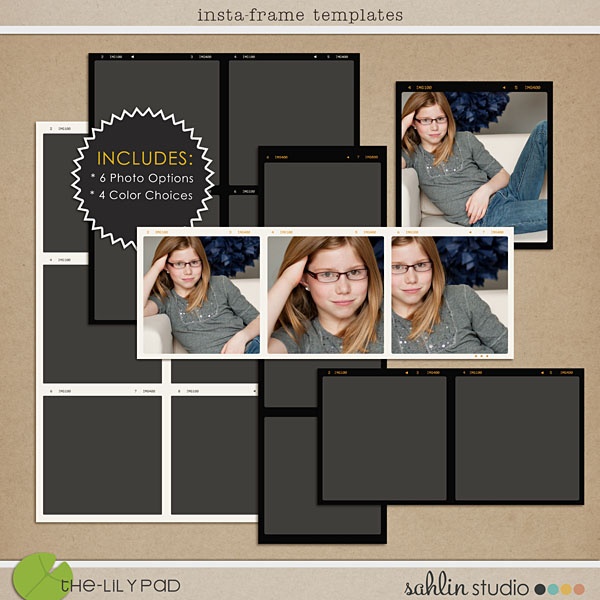
sahlin studio just put these for sale. may be worth buying when they go on sale
|
when you need to use lots of pictures without it looking too cluttered
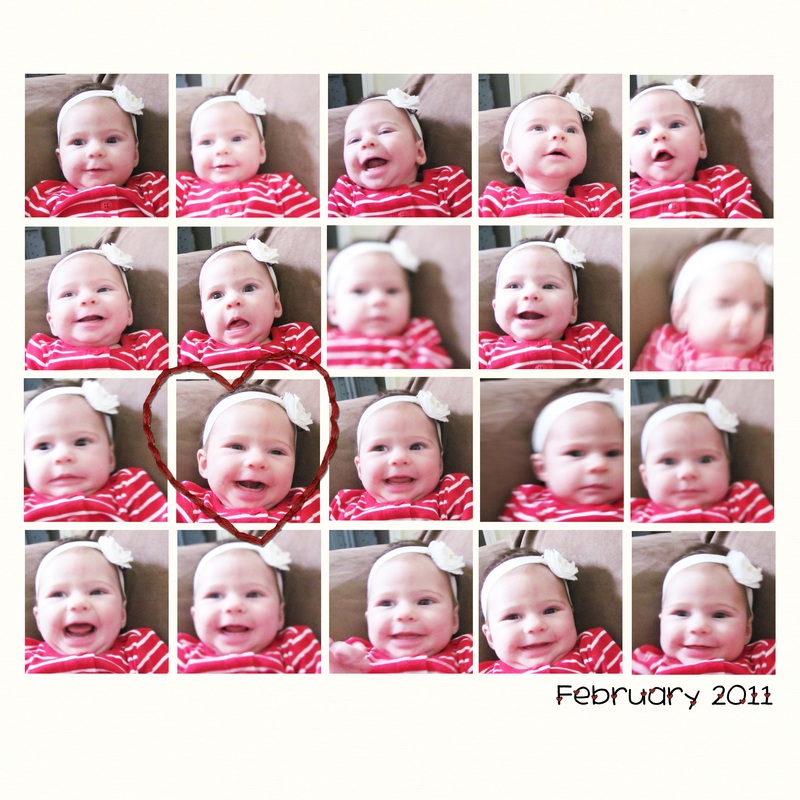
the minimalist look-love the broken up photos that slightly change
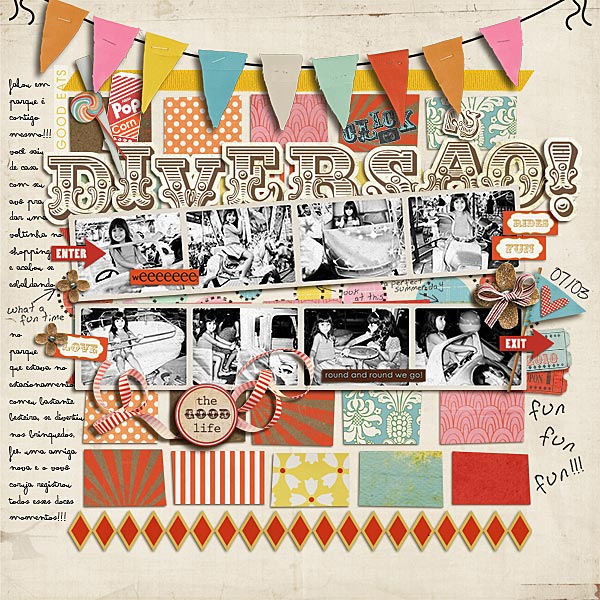
this is mine, an example of photo strips in block form. see, I have a problem cutting photos
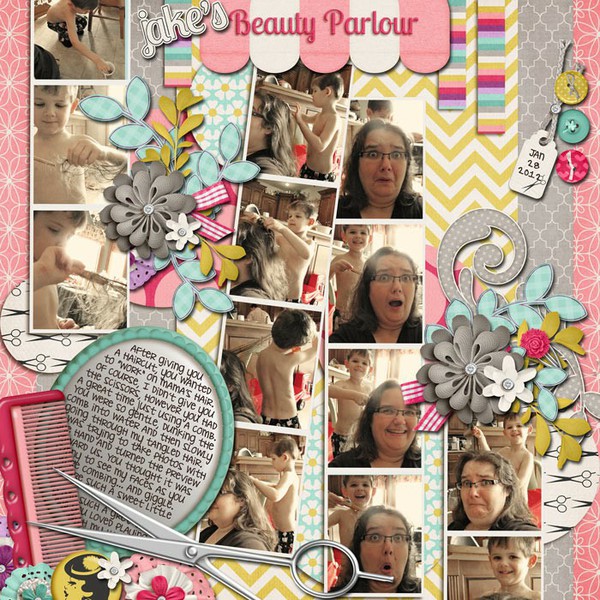
don't love the colors or kit from this page, but the photo strips are funny and well placed
this {yawn] boring one is mine. I like the strip, but that's pretty much it. I think I'm going to split the text and move the strip down the page.
don't like the background paper, but I like the emphasis on the strip
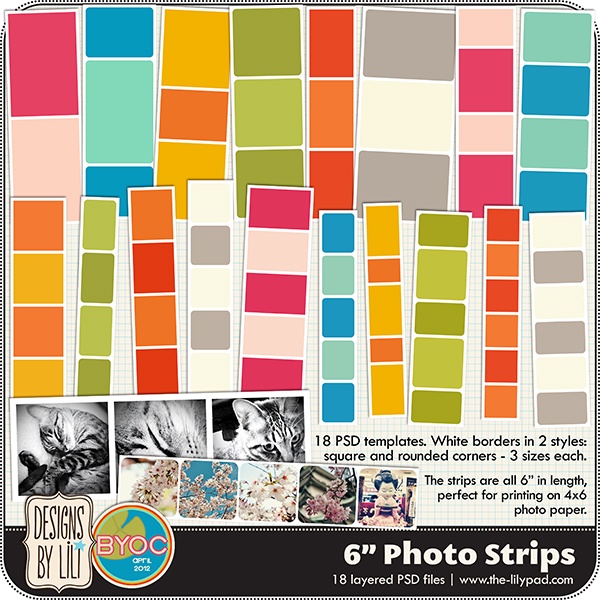
these were just put up for sale. easy to copy. hint, hint.
|
creative
other inspiring news...
Sweet Shoppe Designs is doing a wonderful thing on Pinterest! They are posting inspiring ideas for layouts and then giving you points for completing layouts from that inspiration. Read here for more details. And visit the pinterest board here. Perfect for when you have scrapbooker's block (like writer's block) even if you don't want to do it for points.
Sorry for the absence. I was spending time with family that came into town for Easter. As a warning, posts may be scarce in the next two months because life will be a little crazy with vacations, graduation, and moving across the country yet again (fourth move this year). I'll be back later with some Monday Muse inspiration!
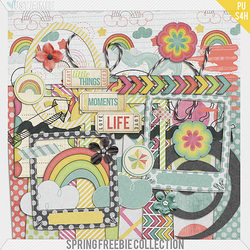
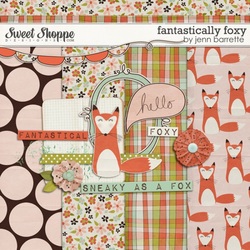 Sweet Shoppe Designs added new designers to their team. Each designer has posted a free mini kit or template for you to have. There are 24 FREEBIES ON THE PAGE!!!! Go here to see them all.
 Just Jamie free kit and solid papers. Go here.
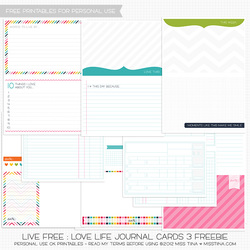 Miss Tiina free journal cards. Go here.
 Free templates at Shabby Princess-Don't forget that they give out around 3 a month! Go here.
 SIGN UP FOR NEWSLETTERS! Scrapbook shops and designers have newsletters that usually give out free things. Like Cat Scrap gave away this free kit in their newsletter. Go here to sign up for the newsletter. I think you may be too late for this month's freebie, but you will get next month's!
 Scrap Orchard also gives out free kits once a month, broken up over each week. This is this month's kit. Go here to sign up for the newsletter.
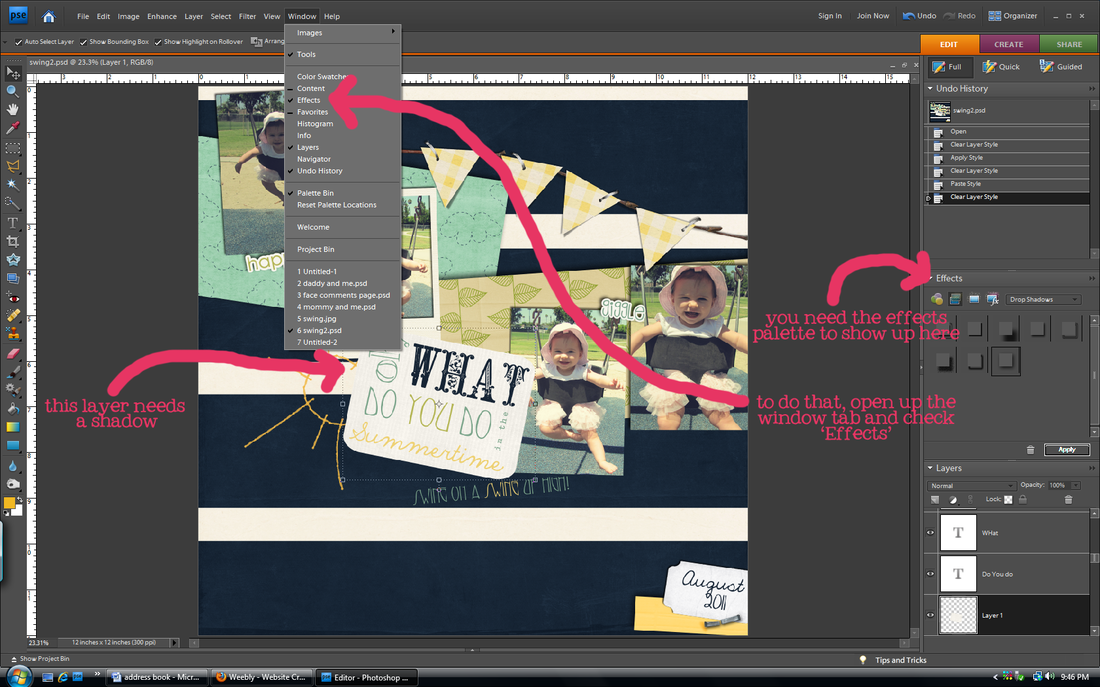
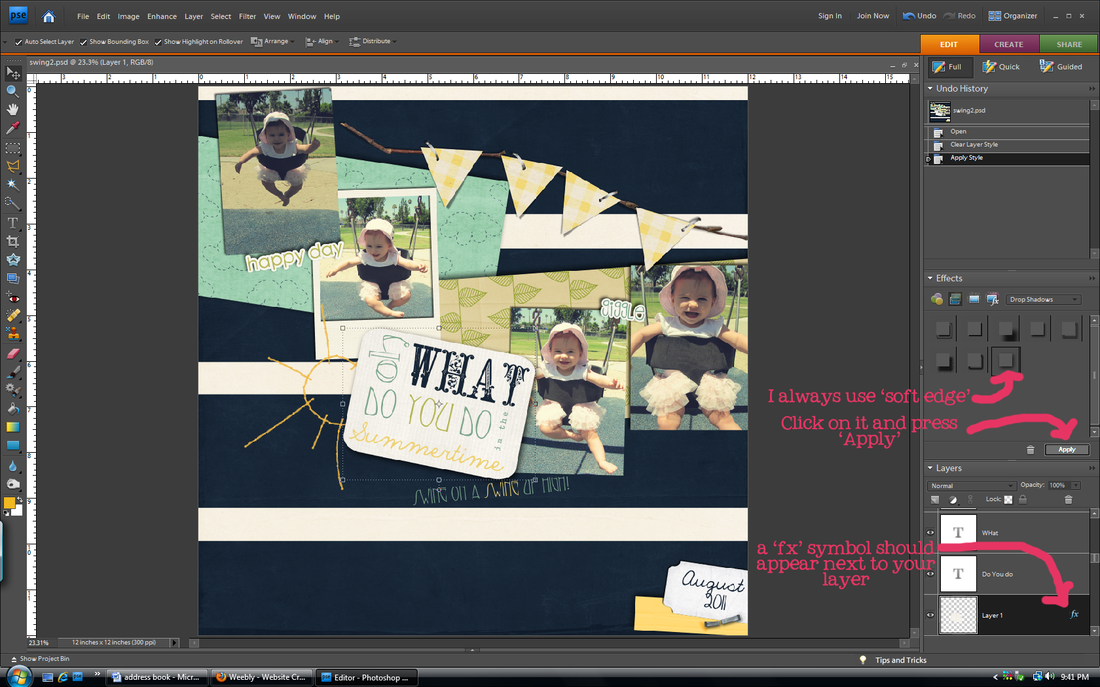
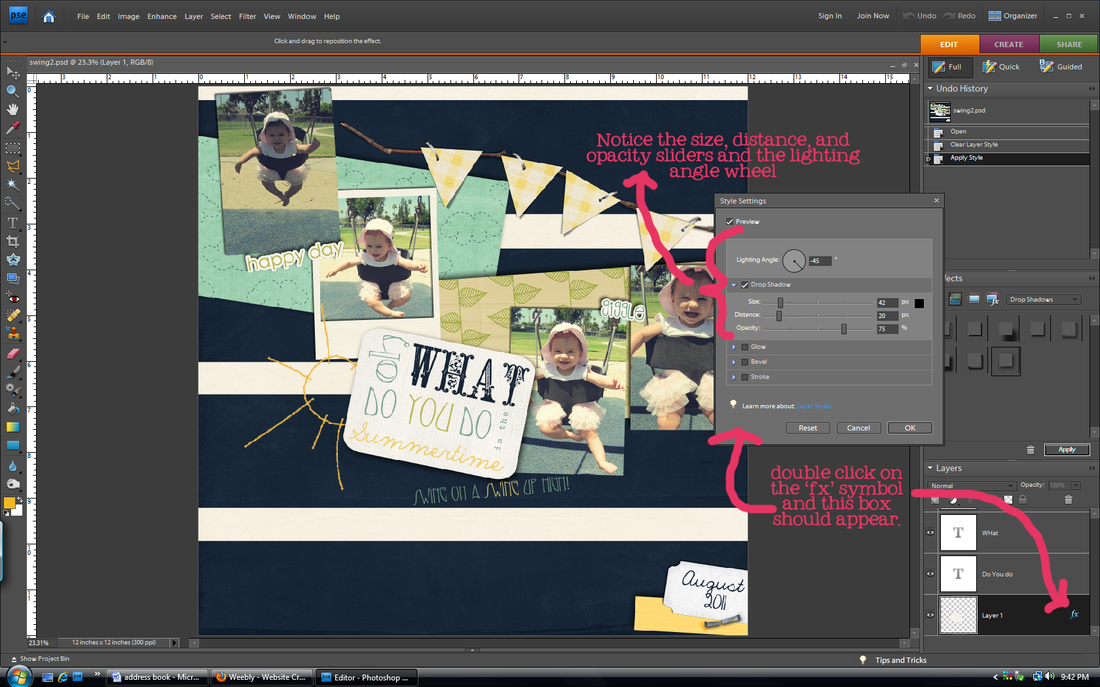
Drop shadows are key to taking a layout from looking computer-generated to looking like you made it with actual paper supplies. They add depth and realism. In order to achieve that realistic look, you have to venture out of the default drop shadow setting. I promise it is easy. (side note: I use Photoshop Elements, but in Photoshop CS you can do more things with shadows to make them look realistic like warp them and choose the blend mode. Sadly I cannot, so this tutorial will not include changing those settings)
no shadows
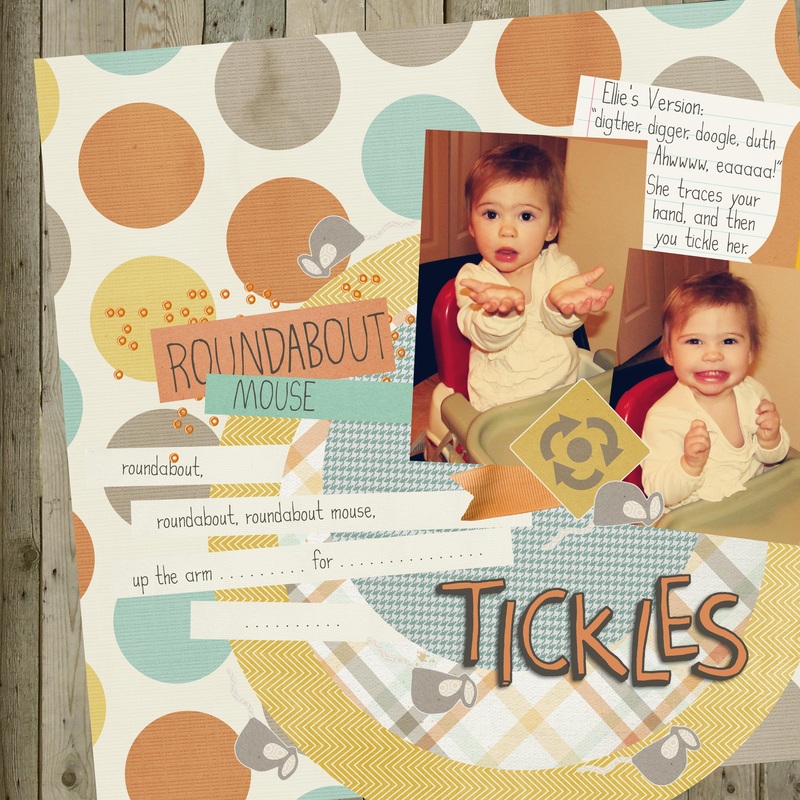
This has no shadows (except for the "tickles" whose shadow was saved permanently, oops). See how flat it looks?
| default shadows
With default shadows, everything seems to be 'floating' on top of each other instead of layered. Open this up larger to really see the difference between this and altered shadows.
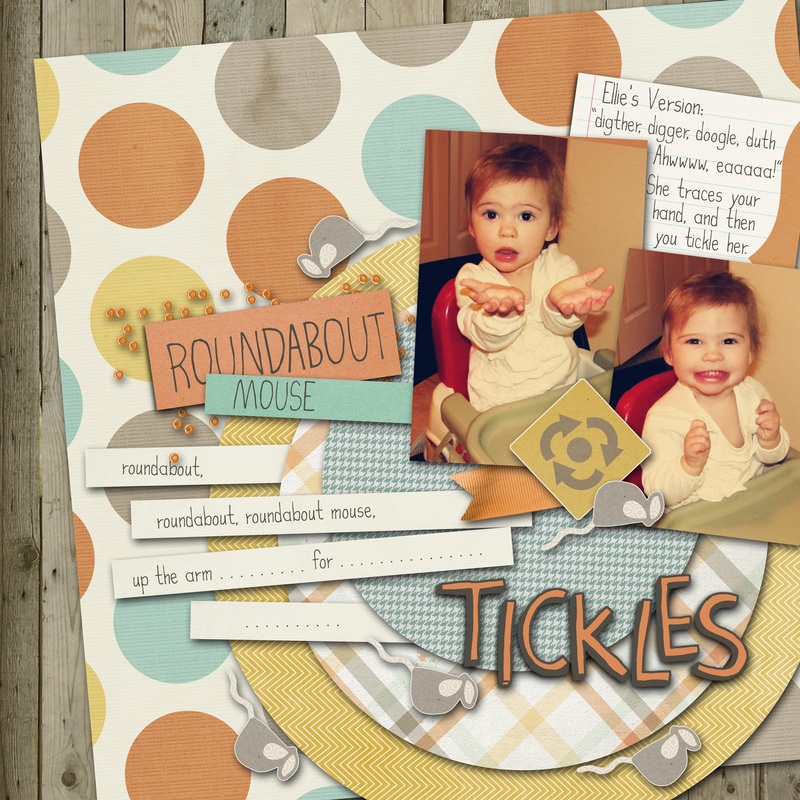
| altered shadows

This looks a little more realistic. The photos and papers look like they are 'resting' on top of the other layers rather than 'floating' in space.
|
tips
1. These are the things you can change in Photoshop Elements:
Lighting Angle- changes the angle of light and
therefore the angle of your shadow
Size- changes the size of your shadow, not to be
confused with the distance. The size will
make your shadow softer or harder on
the edges. Small size=hard edge
Distance- changes how far away your shadow
is from the layer underneath
Opacity- changes how dark the shadow is
2. Vary your shadows for different objects. A button makes a larger shadow than a piece of paper or a photo. Sahlin Studio recommends the settings listed below. That's too much for me to memorize so I usually just play with the sliders until I am happy with the result.
Flat Paper/photos: distance 14/size 20
Stacked Paper/photos: distance 20/size 21
Flat Ribbons/strings: distance 33/ size 35
Ribbons/strings: distance 46/ size 49
Flowers: distance 46/ size 49
Stitches/staples: distance 7/ size 12
3. The closer an object is to the layer below, the darker the shadow will be because less light gets to it. For example, a paper sits closer to the background than a flower, so it would have a darker shadow.
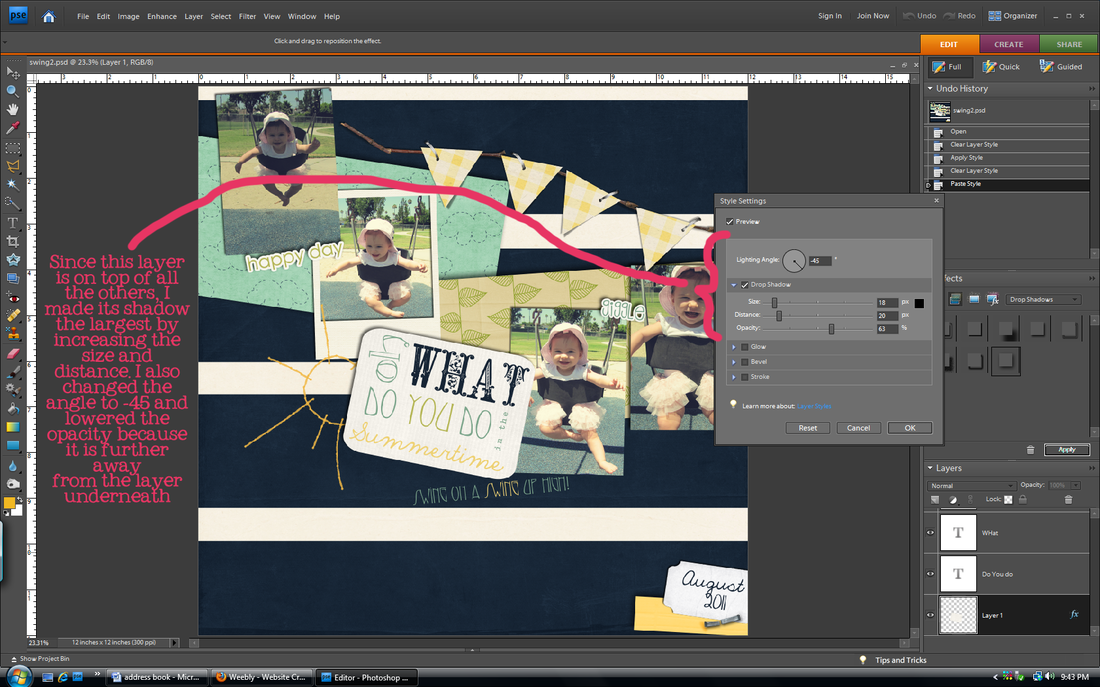
4. Change the angle of the shadow. Most people use the default 120 degrees, but I think that 45 degrees or -45 degrees looks more striking. Some of my pages use 120 degrees, some 45, some -53. I like to live on the wild side, always changing.
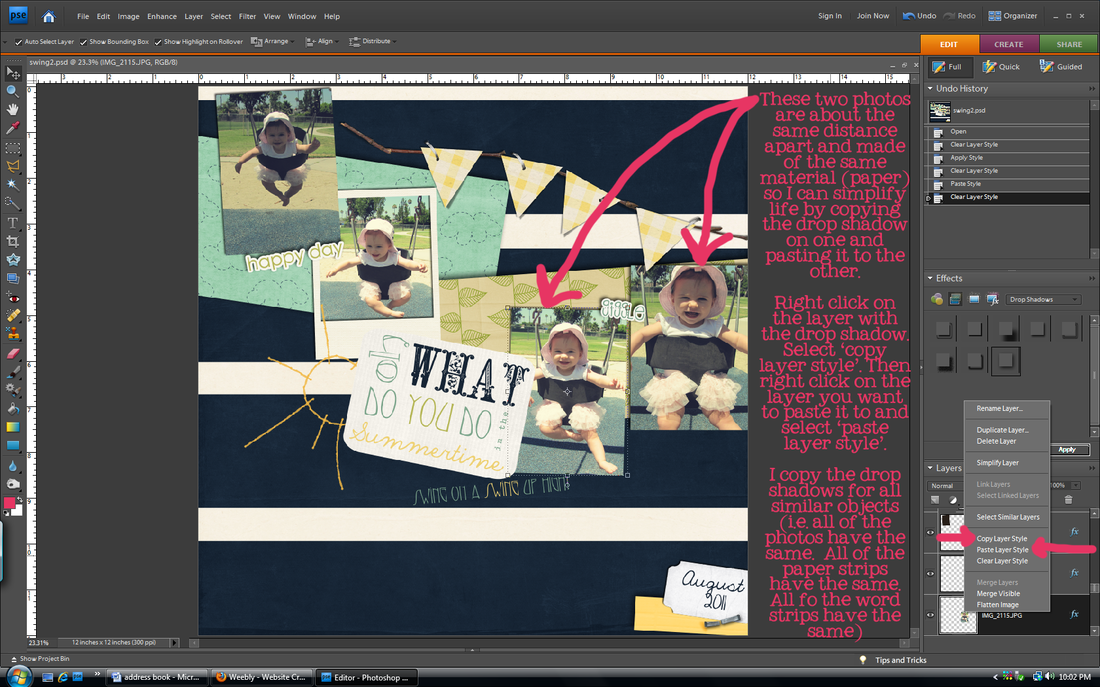
5. Once you get a shadow that you like, you can right click on that layer and 'copy layer style'. Then you can paste that layer style on any layer that you want to have the same shadow as that one. Just right click on the layer you want to paste it to and click 'paste layer style'. My friend Brittany just barely showed me this, and it is a life saver! I used to go through each layer one by one to fix the shadows! (I showed how to do this in the last step of the tutorial below)
6. Many times designers will pre-shadow templates for you. When replacing a shape with an actual element, use the method in tip #4 to copy that element's layer style before deleting it and replacing it with your own so that you can paste that layer style to your actual element.
drop shadow basics.
in other news...
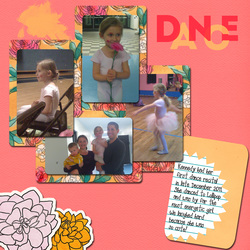 Wahoo for our first guest gallery poster! Ashley submitted her layout using the Color Me Spring kit. Didn't it turn out cute? Her daughter is adorable! Send me your layouts at [email protected]. You know you want to. It doesn't have to be using my stuff, just layouts that you think would inspire others. If you do submit something using another designer's kits/elements/fonts just include the credits.
|