The biggest advice I have to save hours of frustration when printing your scrapbook pages is to PREP AS YOU GO. It took me 5 books before I realized that life would be much easier when it came time to print if I prepped my pages as I finished them. Duh Rachel.
- Pick a size: Before you even scrap a page, decide on the final size of your book. I usually do 12x12 books, but I have printed 8.5x11, 10x10, and 8x8. Make sure that it is always set for 300 dpi. For all square books design your layouts at 12x12. You can always make them smaller, but you lose quality when you make them bigger.
- Proofread: Don't skip this step. Trust me. I have books with many spelling errors and some books with even bigger errors like "I didn't know you went to Bear Lake" "Oops, supposed it's to be Bass Lake" or "I didn't know you went on a Disney cruise last year" "Oops, we went three years ago." Proofread titles, journaling, dates, names, captions, make sure every layer has a shadow (except for fonts), etc.
- Save: Save your layout as a .jpeg file with the quality set to 12 (highest quality). Create a folder for all of your finished jpeg files. Name the page something useful, like the page number it will be or the title of the page.
- Bleed: Bleed is the caution area required so that nothing important gets cut off in the printing process. Bleed is confusing, and then combined with the space lost where the binding is, I've just found it easier to add a .25 inch white border around all of my pages as a safety measure. Then I never have to worry about uploading my pages as 12.25x12.25 or making sure that elements, photos, and journaling are .25 inches from the edge of the page. To do this I save the page as a jpeg and then drag it onto a template that I've made (you can download below) and saved it again as a jpeg to a folder called "jpeg with border." Download white border template HERE or black border template HERE.
- Upload as you go: As soon as you finish a page, or a set of pages, save them and upload them to the printer's site. Uploading takes FOREVER, even on a fast internet connection. It is so much easier to upload them 5 at a time as you finish them, rather than 78 pages the night before your coupon expires.
without safety border
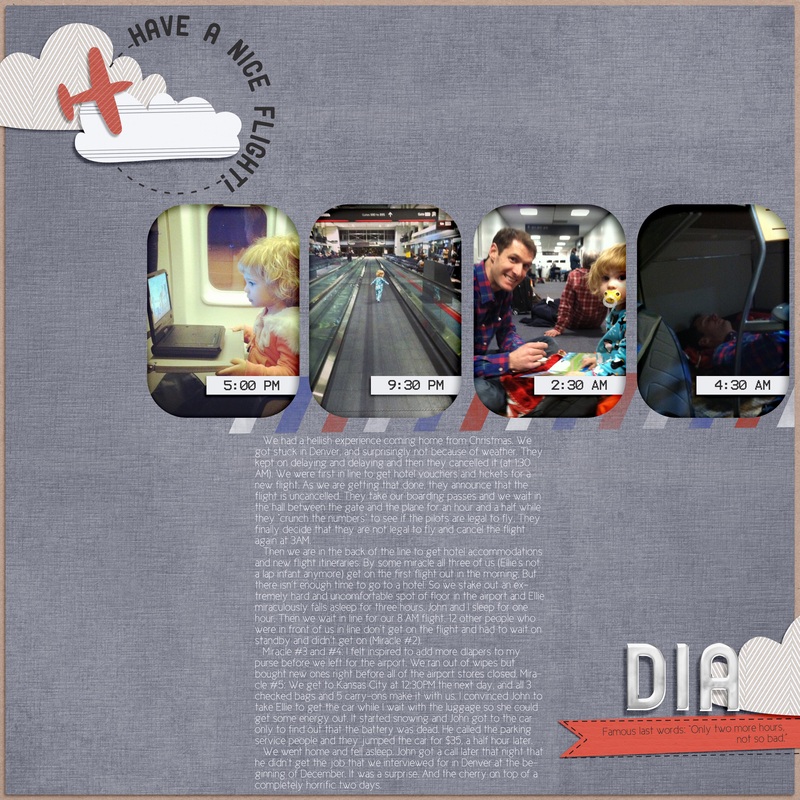
I like to scrap to the very edge--and in this layout, some journaling, the title, and a photo could potentially get cut off in the printing process.
| with safety border
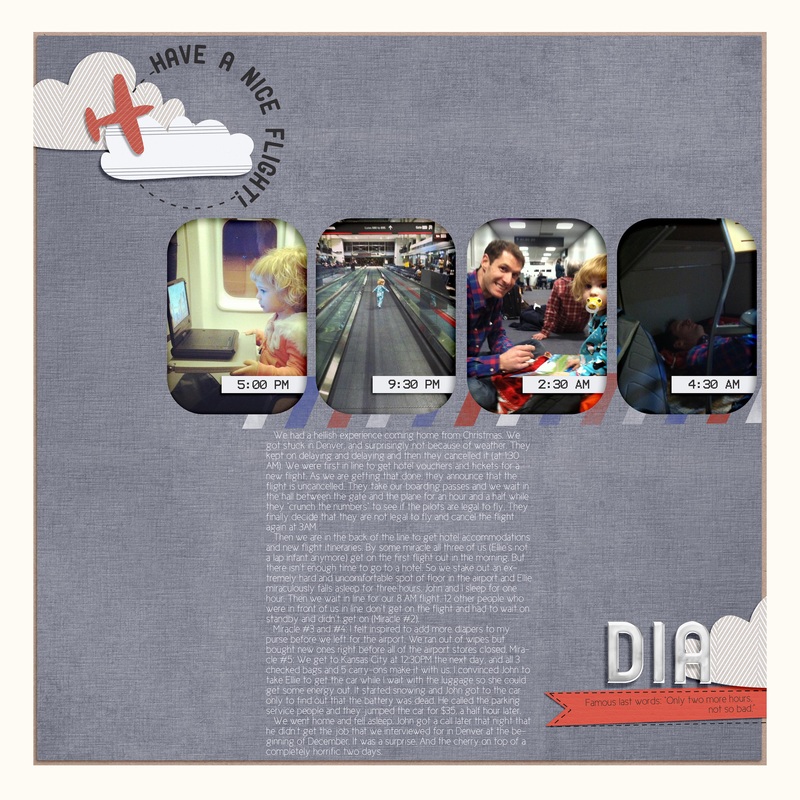
It does make the layout a little smaller, but when the book is 12x12, looking at a 11.75x11.75 layout is still pretty big. Plus the white border is not distracting.
|
Questions about printing? Have tips to add? Just leave a comment!
Up Next: Wrapping it all up
Printing digital scrapbooking pages is the worst part of scrapbooking for me. It takes forever and can be really frustrating. Plus I always have a mini-heart attack when I see the total price of printing a book. Eek! But all of that goes away when you get your book in the mail. Your book, your pages, your memories now recorded forever. I've had a few friends recently ask me questions about how I print my scrapbook pages, so I thought I'd do a three-part series on what I've learned while navigating this complicated process.
**Special note: This review is for people printing completed scrapbook pages, meaning they created those pages in Photoshop NOT with the printer's online program.
choosing a printer.
I have printed books with Shutterfly, Mixbook, Viovio, and Apple. Each company is completely different. You have to decide what you think is most important to you, and then find the company that fits what you want. Hands down Shutterfly creates the most beautiful books I've ever seen, but I'd have to sell my car to print all of my scrapbooking pages. I care about pretty pages, but I also care about price--otherwise nothing would ever get printed. Viovio has been my favorite company for printing photobooks because it is reasonably priced and the quality is great (i.e. the cover and binding are sturdy, the paper is decent weight, the colors are true to the original). I created a chart to compare prices among the popular printers, but of course Weebly won't let me paste it here so if you want to see the entire comparison, you'll have to download the document below (this is the updated document).

| printer_price_comparison.docx |
| File Size: | 12 kb |
| File Type: | docx |
Download File
cost comparison summary
(50 page 12x12 hard cover book)
- Costco: $53.79
- Paper Kiwi: $62.99
- Viovio: $72.49
- Blurb: $84.95
- Mixbook: $87.49
- Picaboo: $89.79
- Shutterfly: $99.99
- Persnickety Prints: $110.69
Costco has example books to look through at their warehouse. While I love their photo prints, the books feel flimsy and cheap like the pages would rip very easily. I've never tried Paper Kiwi, but maybe I should next time. Even after the comparison I would probably still stick with Viovio because of my personal preference for their 12x12 soft cover books. I don't like hard cover scrapbooks because they are harder to read and hold. I love the soft cover book because it feels more friendly like a magazine (though much much much higher quality). Plus a 50 page 12x12 soft cover book through Viovio only cost $55.49. Entirely my personal preference. The main point is to do your research and read user reviews before committing to a book (and the hefty price that comes with it).
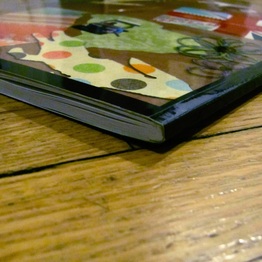
Viovio Soft Cover
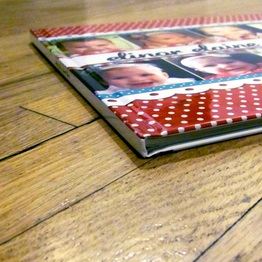
| Mixbook Hard Cover
|
Next up: Preparing your pages for printing, bleed, etc.
coming soon.

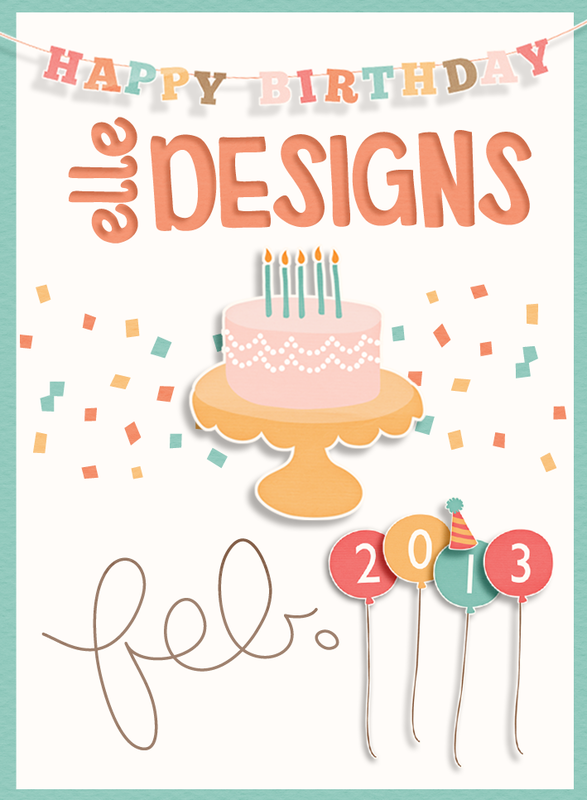
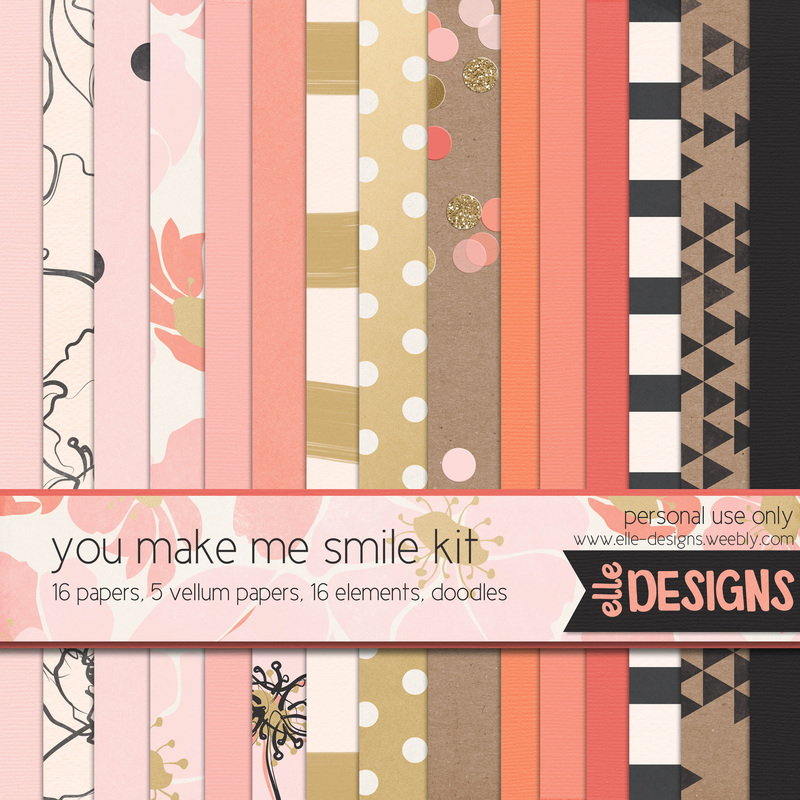
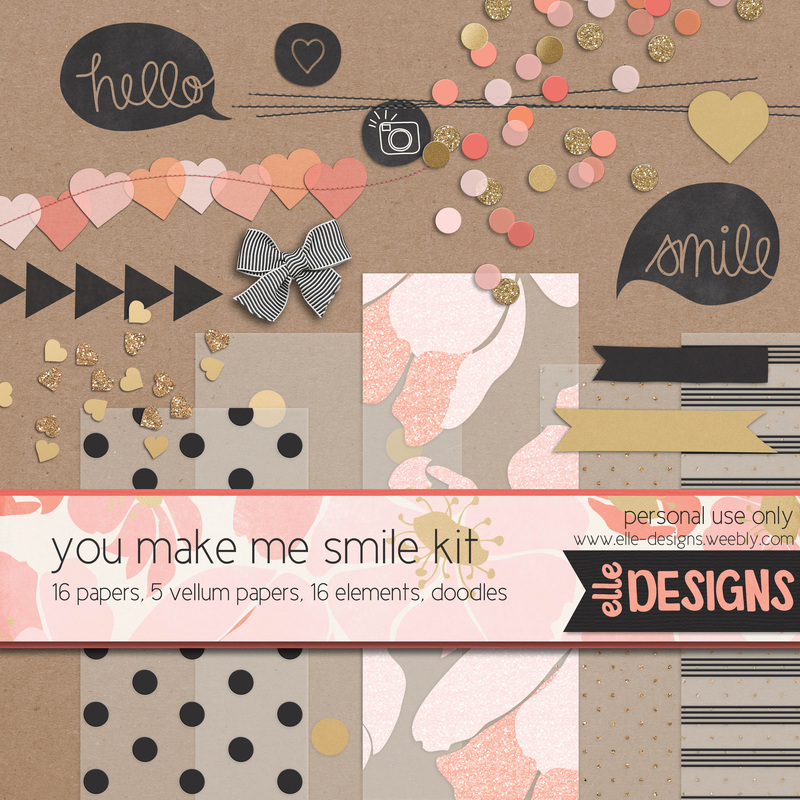
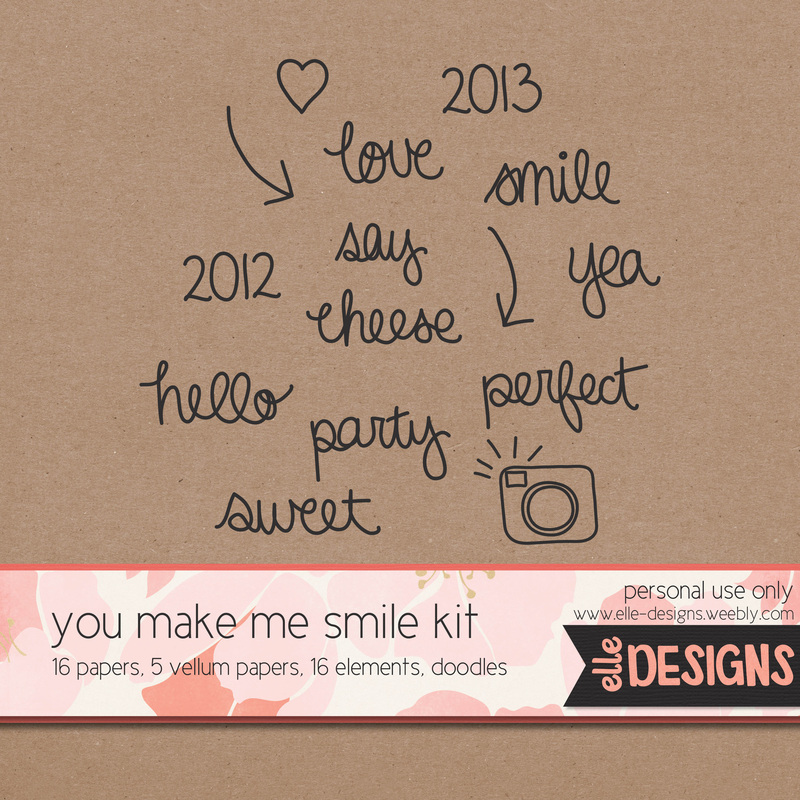
New kit in the works for the special occasion!
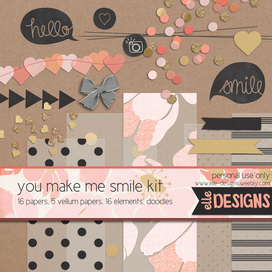
I hope y'all had a wonderful Christmas holiday! We found out over the break that we will be welcoming a new baby BOY into our family in May! I'm very excited but also a little scared. I understand girls, boys on the other hand...then there is the whole issue of scrapbooking boy pages. Sheesh. It's hard to make a page or find a kit that isn't too girly. So you should expect plenty of boyish kits from me in the future. I promise. But for now I had to get out one last girly kit (I mean super girly--glitter, pinks, hearts, etc.). Enjoy!
**Be sure to sign up in the box on the sidebar for email updates--two more free kits coming soon!**